Account Settings
After logging in at account.legitgrails.com, you can access the settings page in your profile. This article provides an overview of how the settings work and what adjustments you can make.
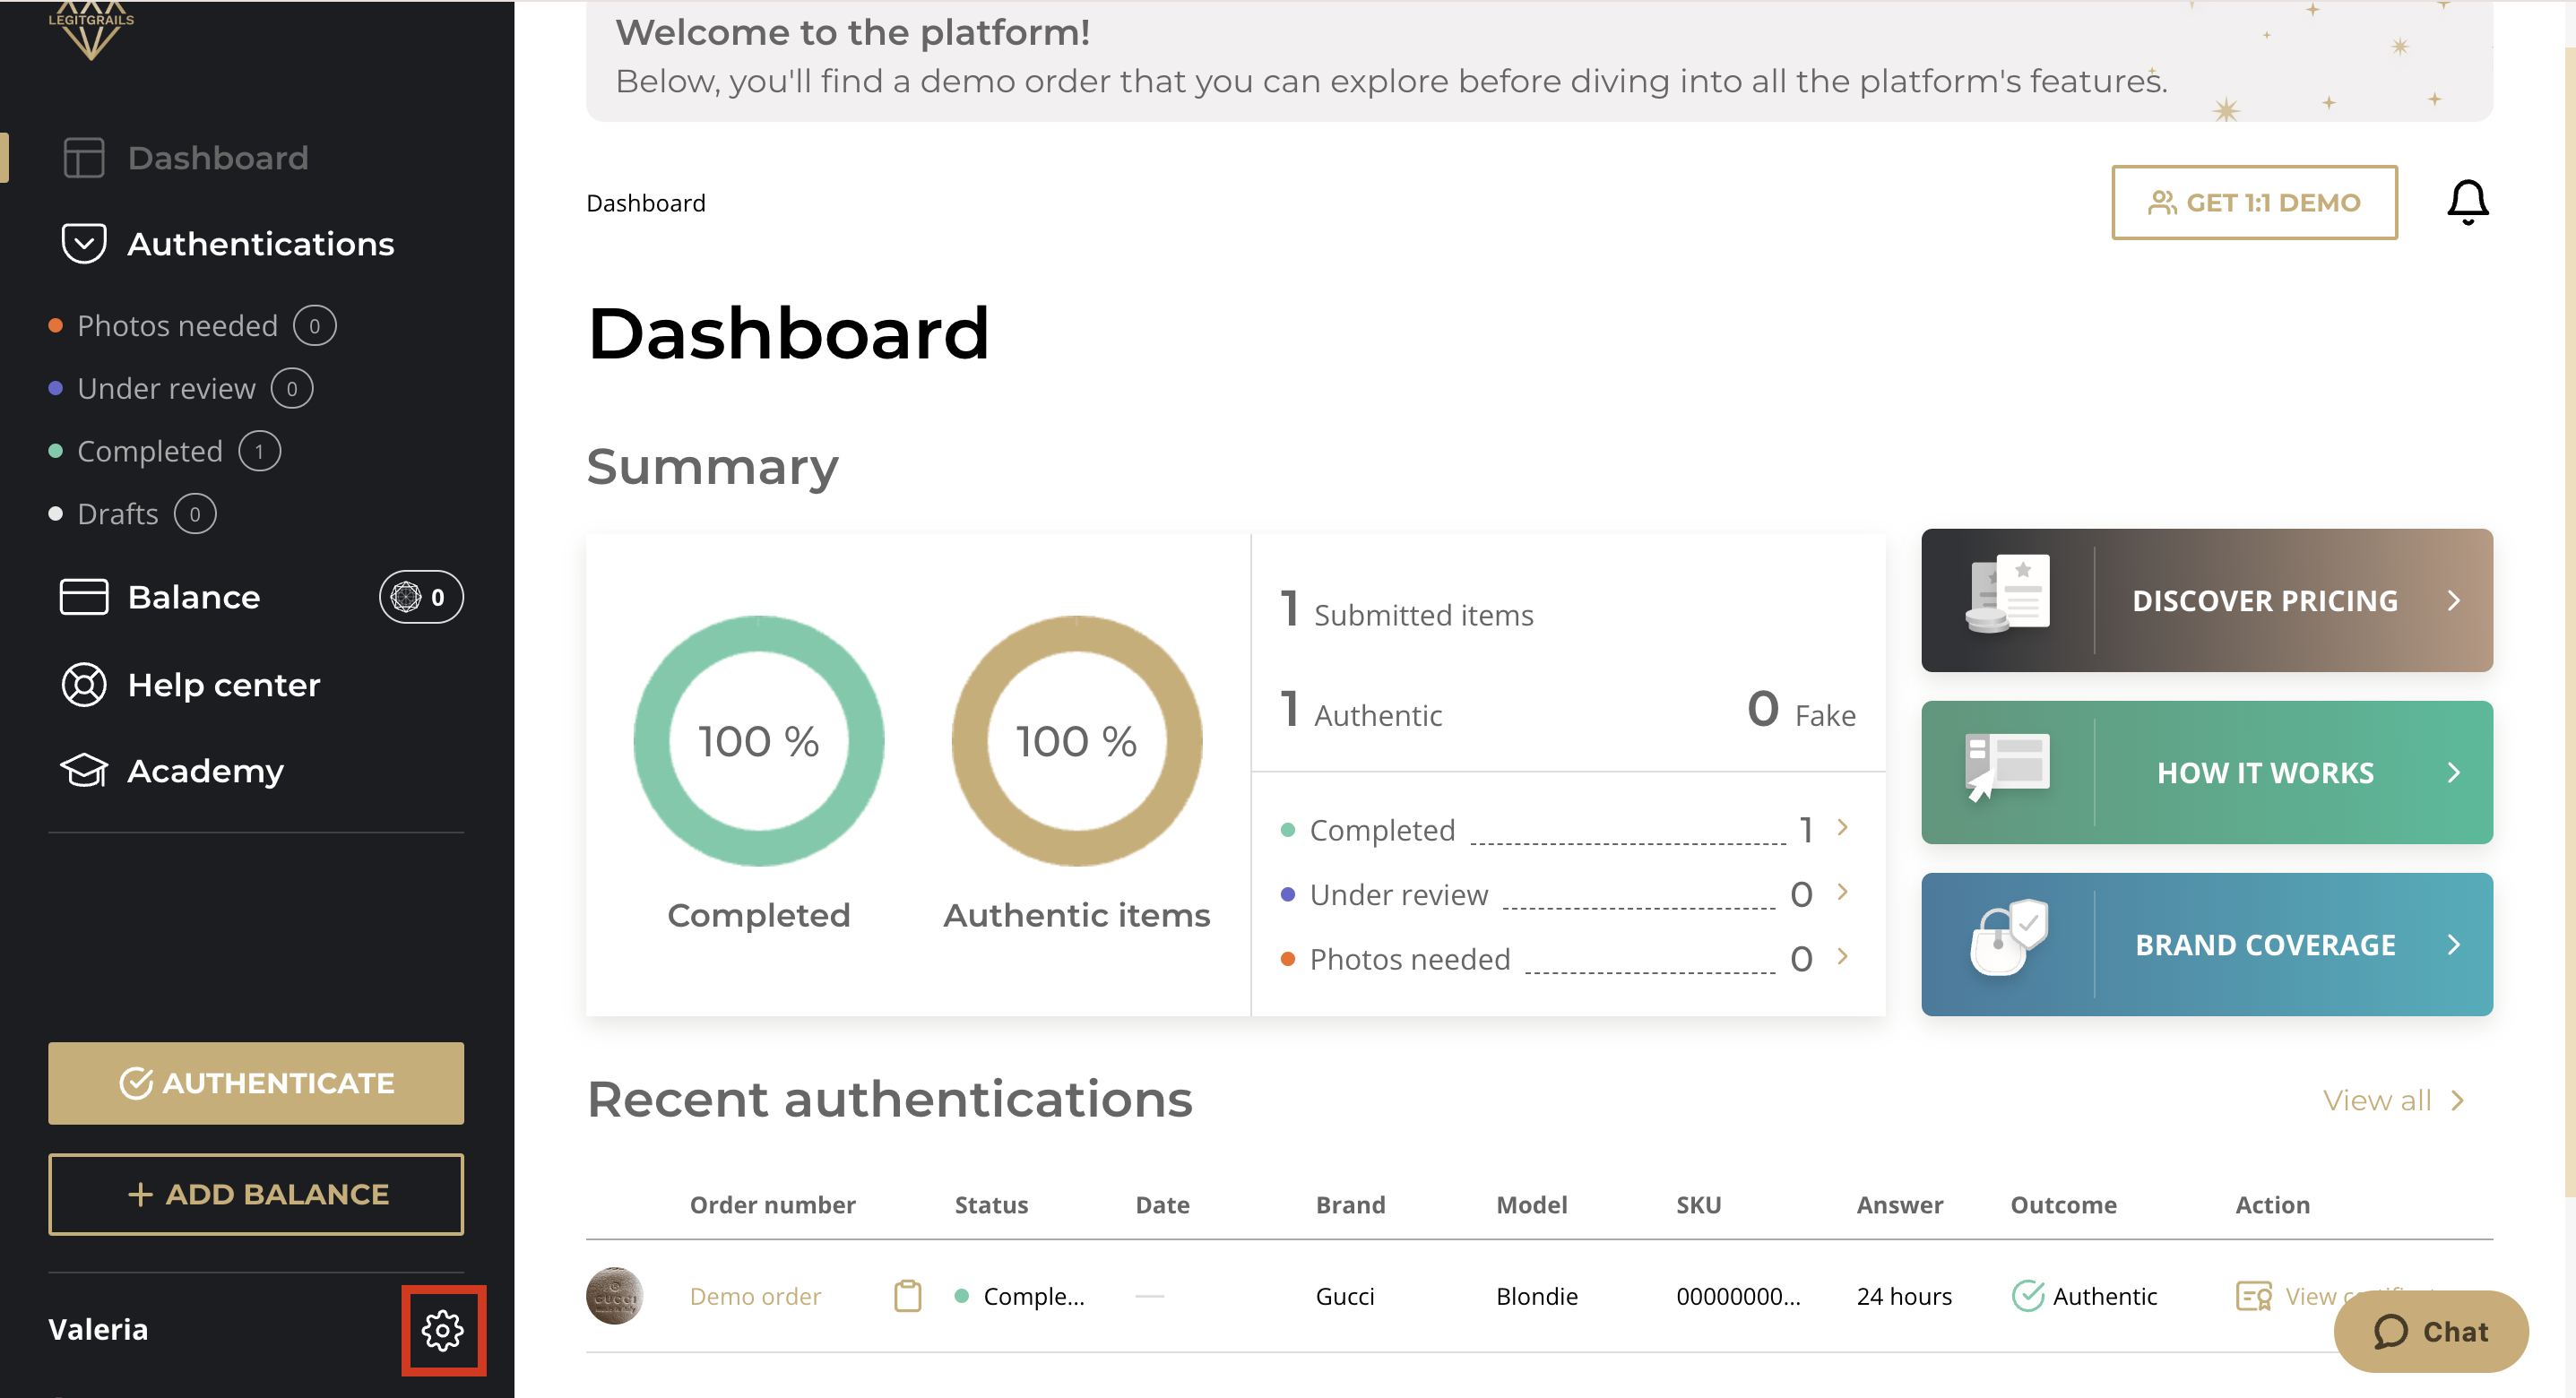
To open the settings, press this icon next to your name:
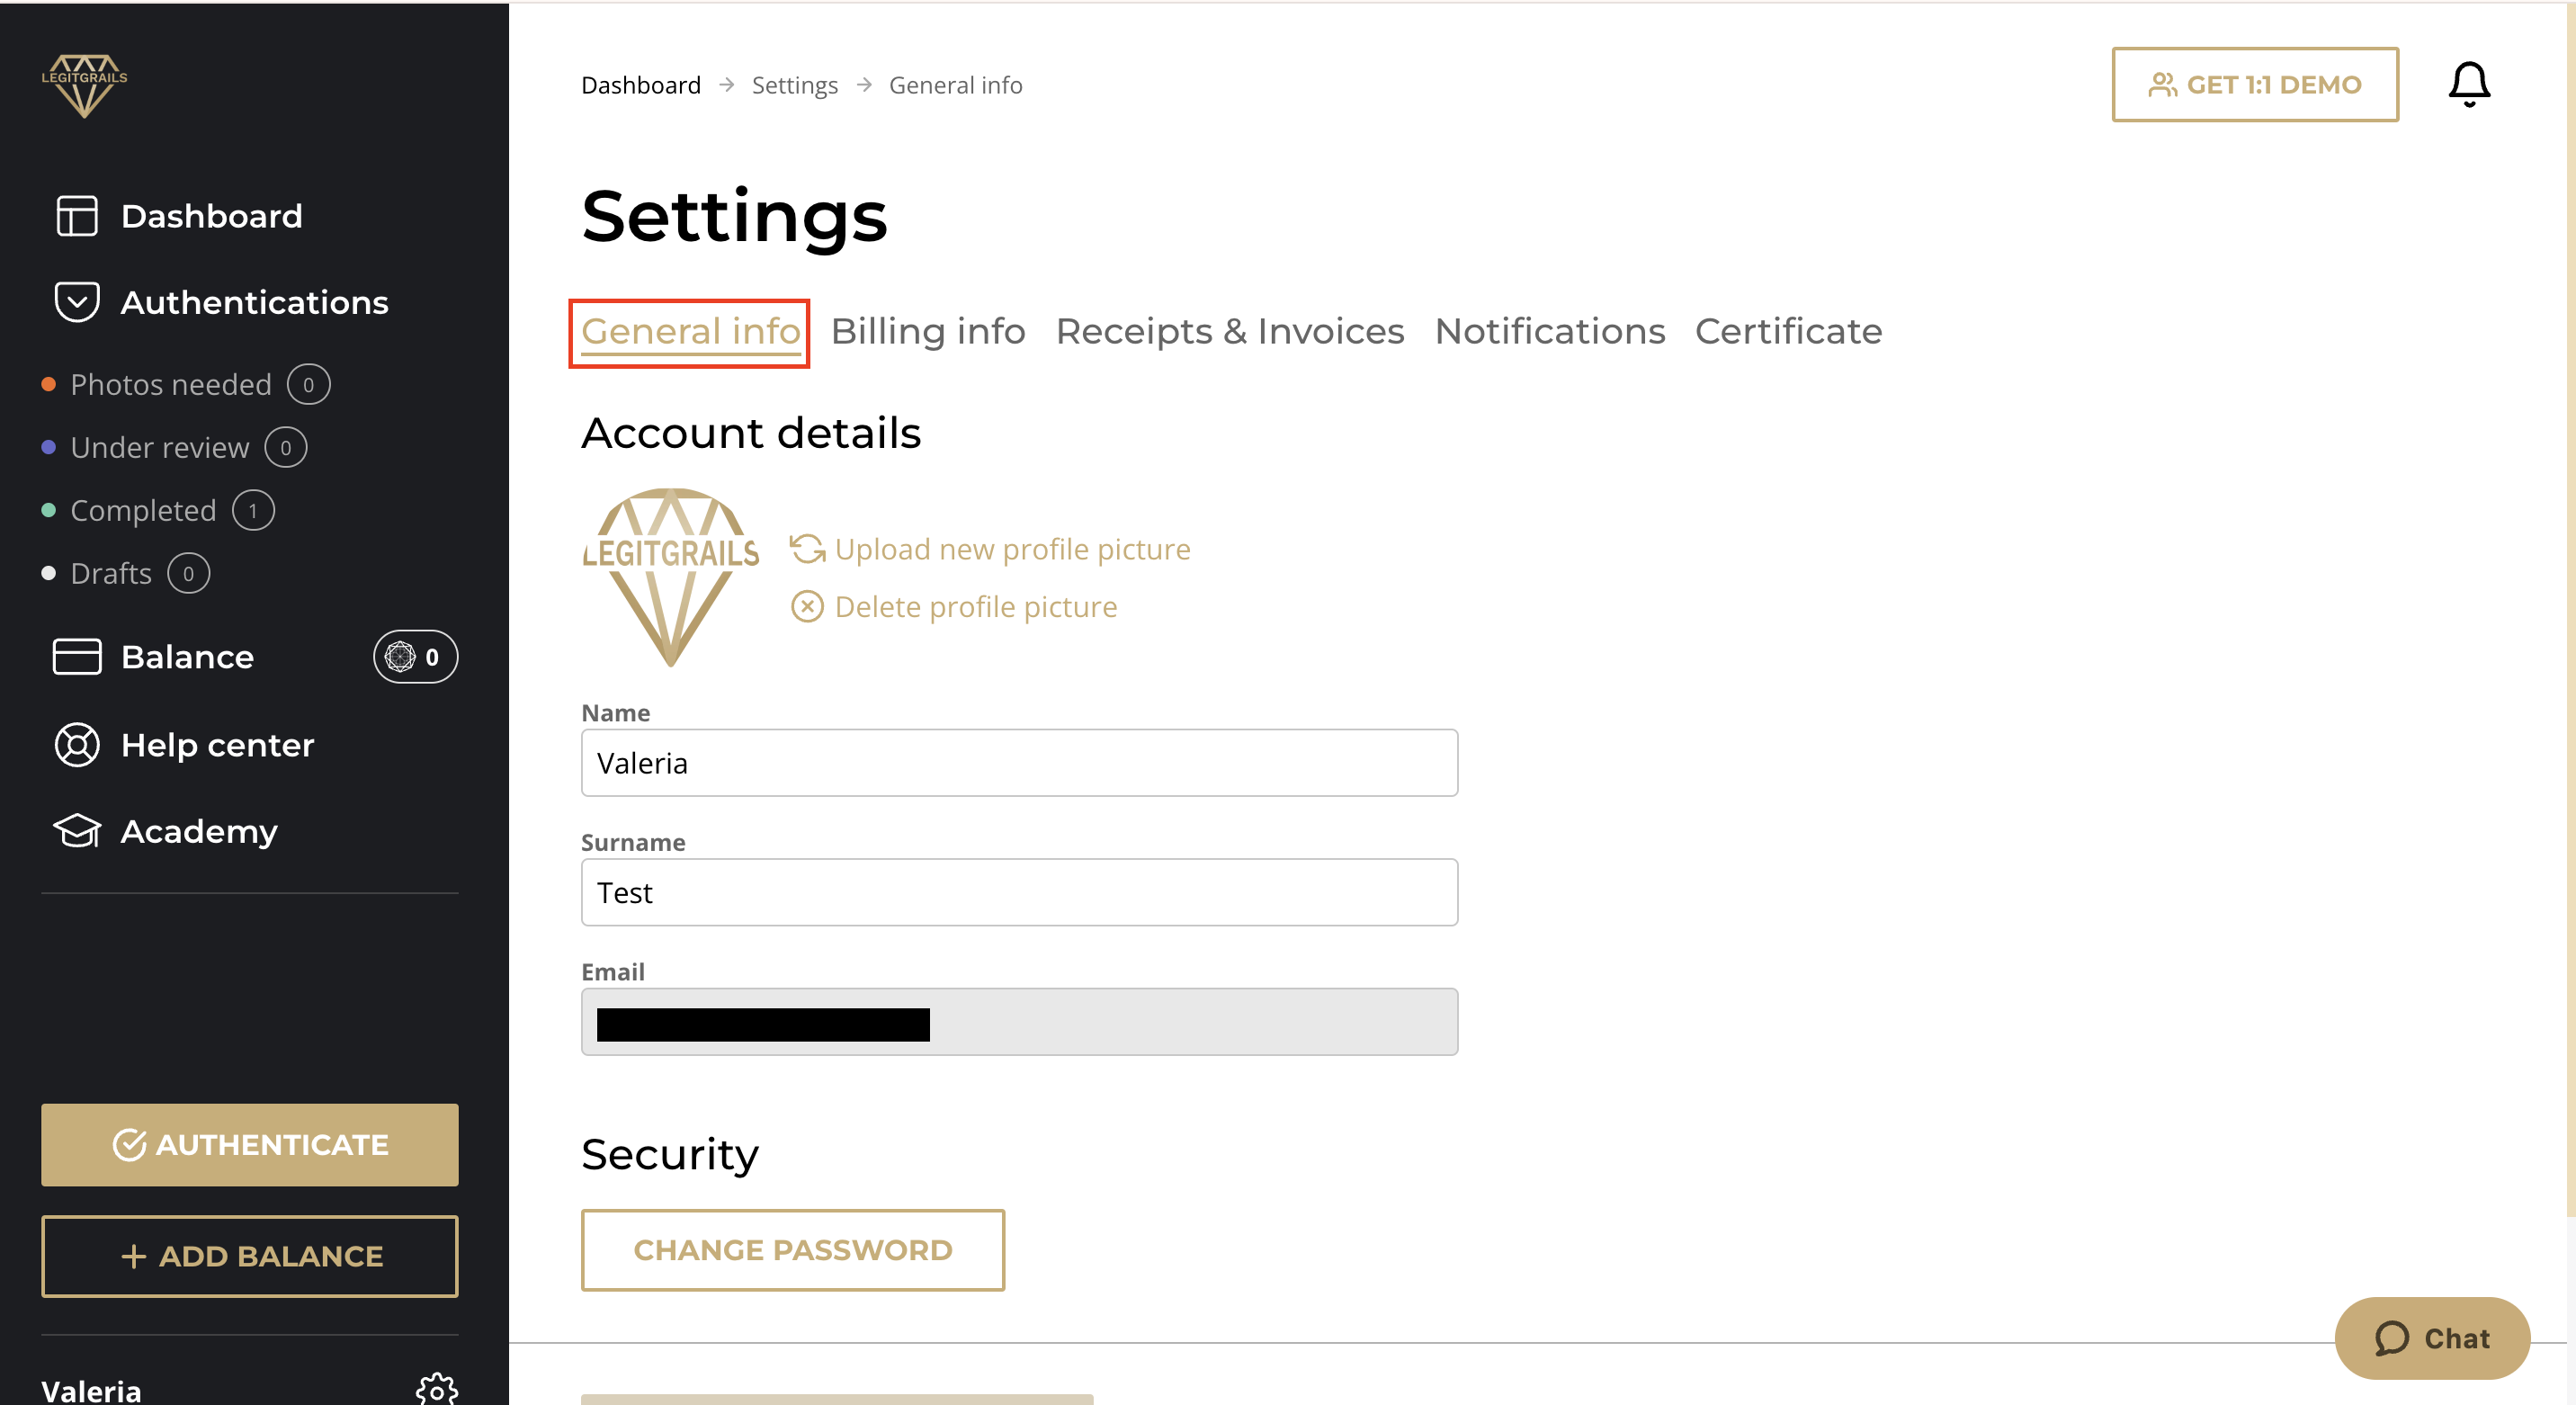
In the General Info section, you can:
Change your name and surname
Update your profile picture
View your linked email address
Change your password
Note: You cannot edit your email address. If you need to update your email, please contact our support team at support@legitgrails.com or press the "Chat" button in the bottom right corner of the screen.
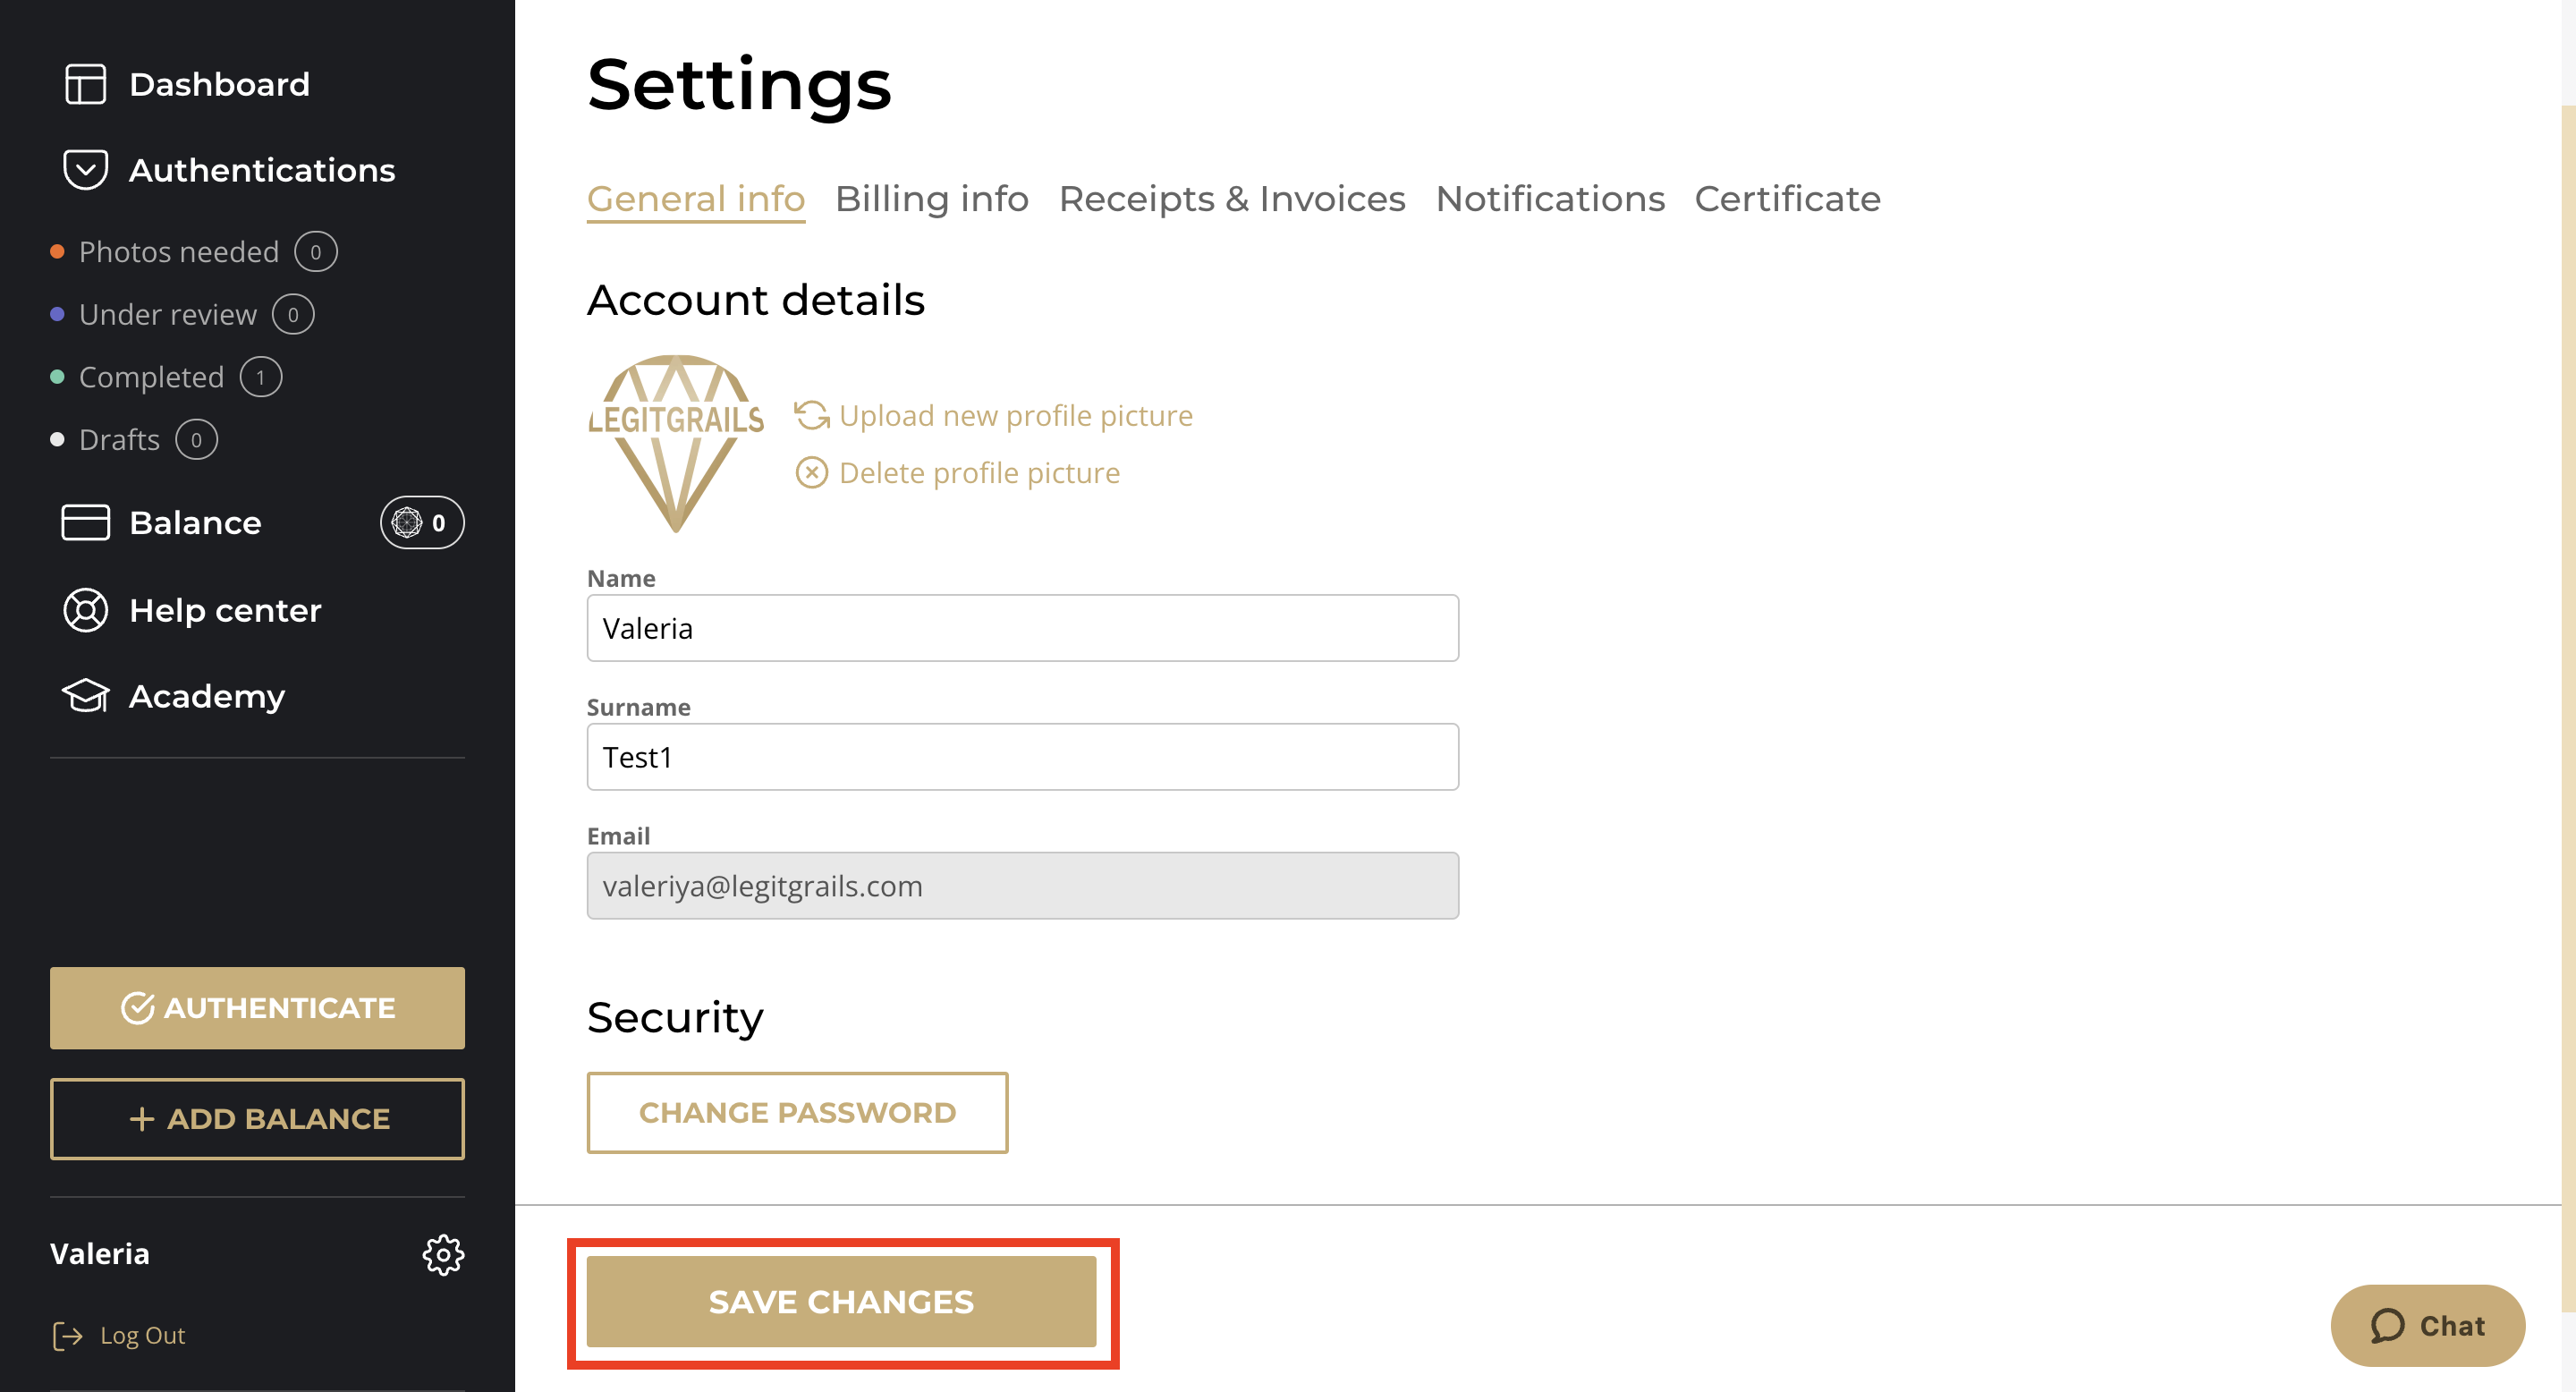
After making any changes, don't forget to click the "Save Changes" button.
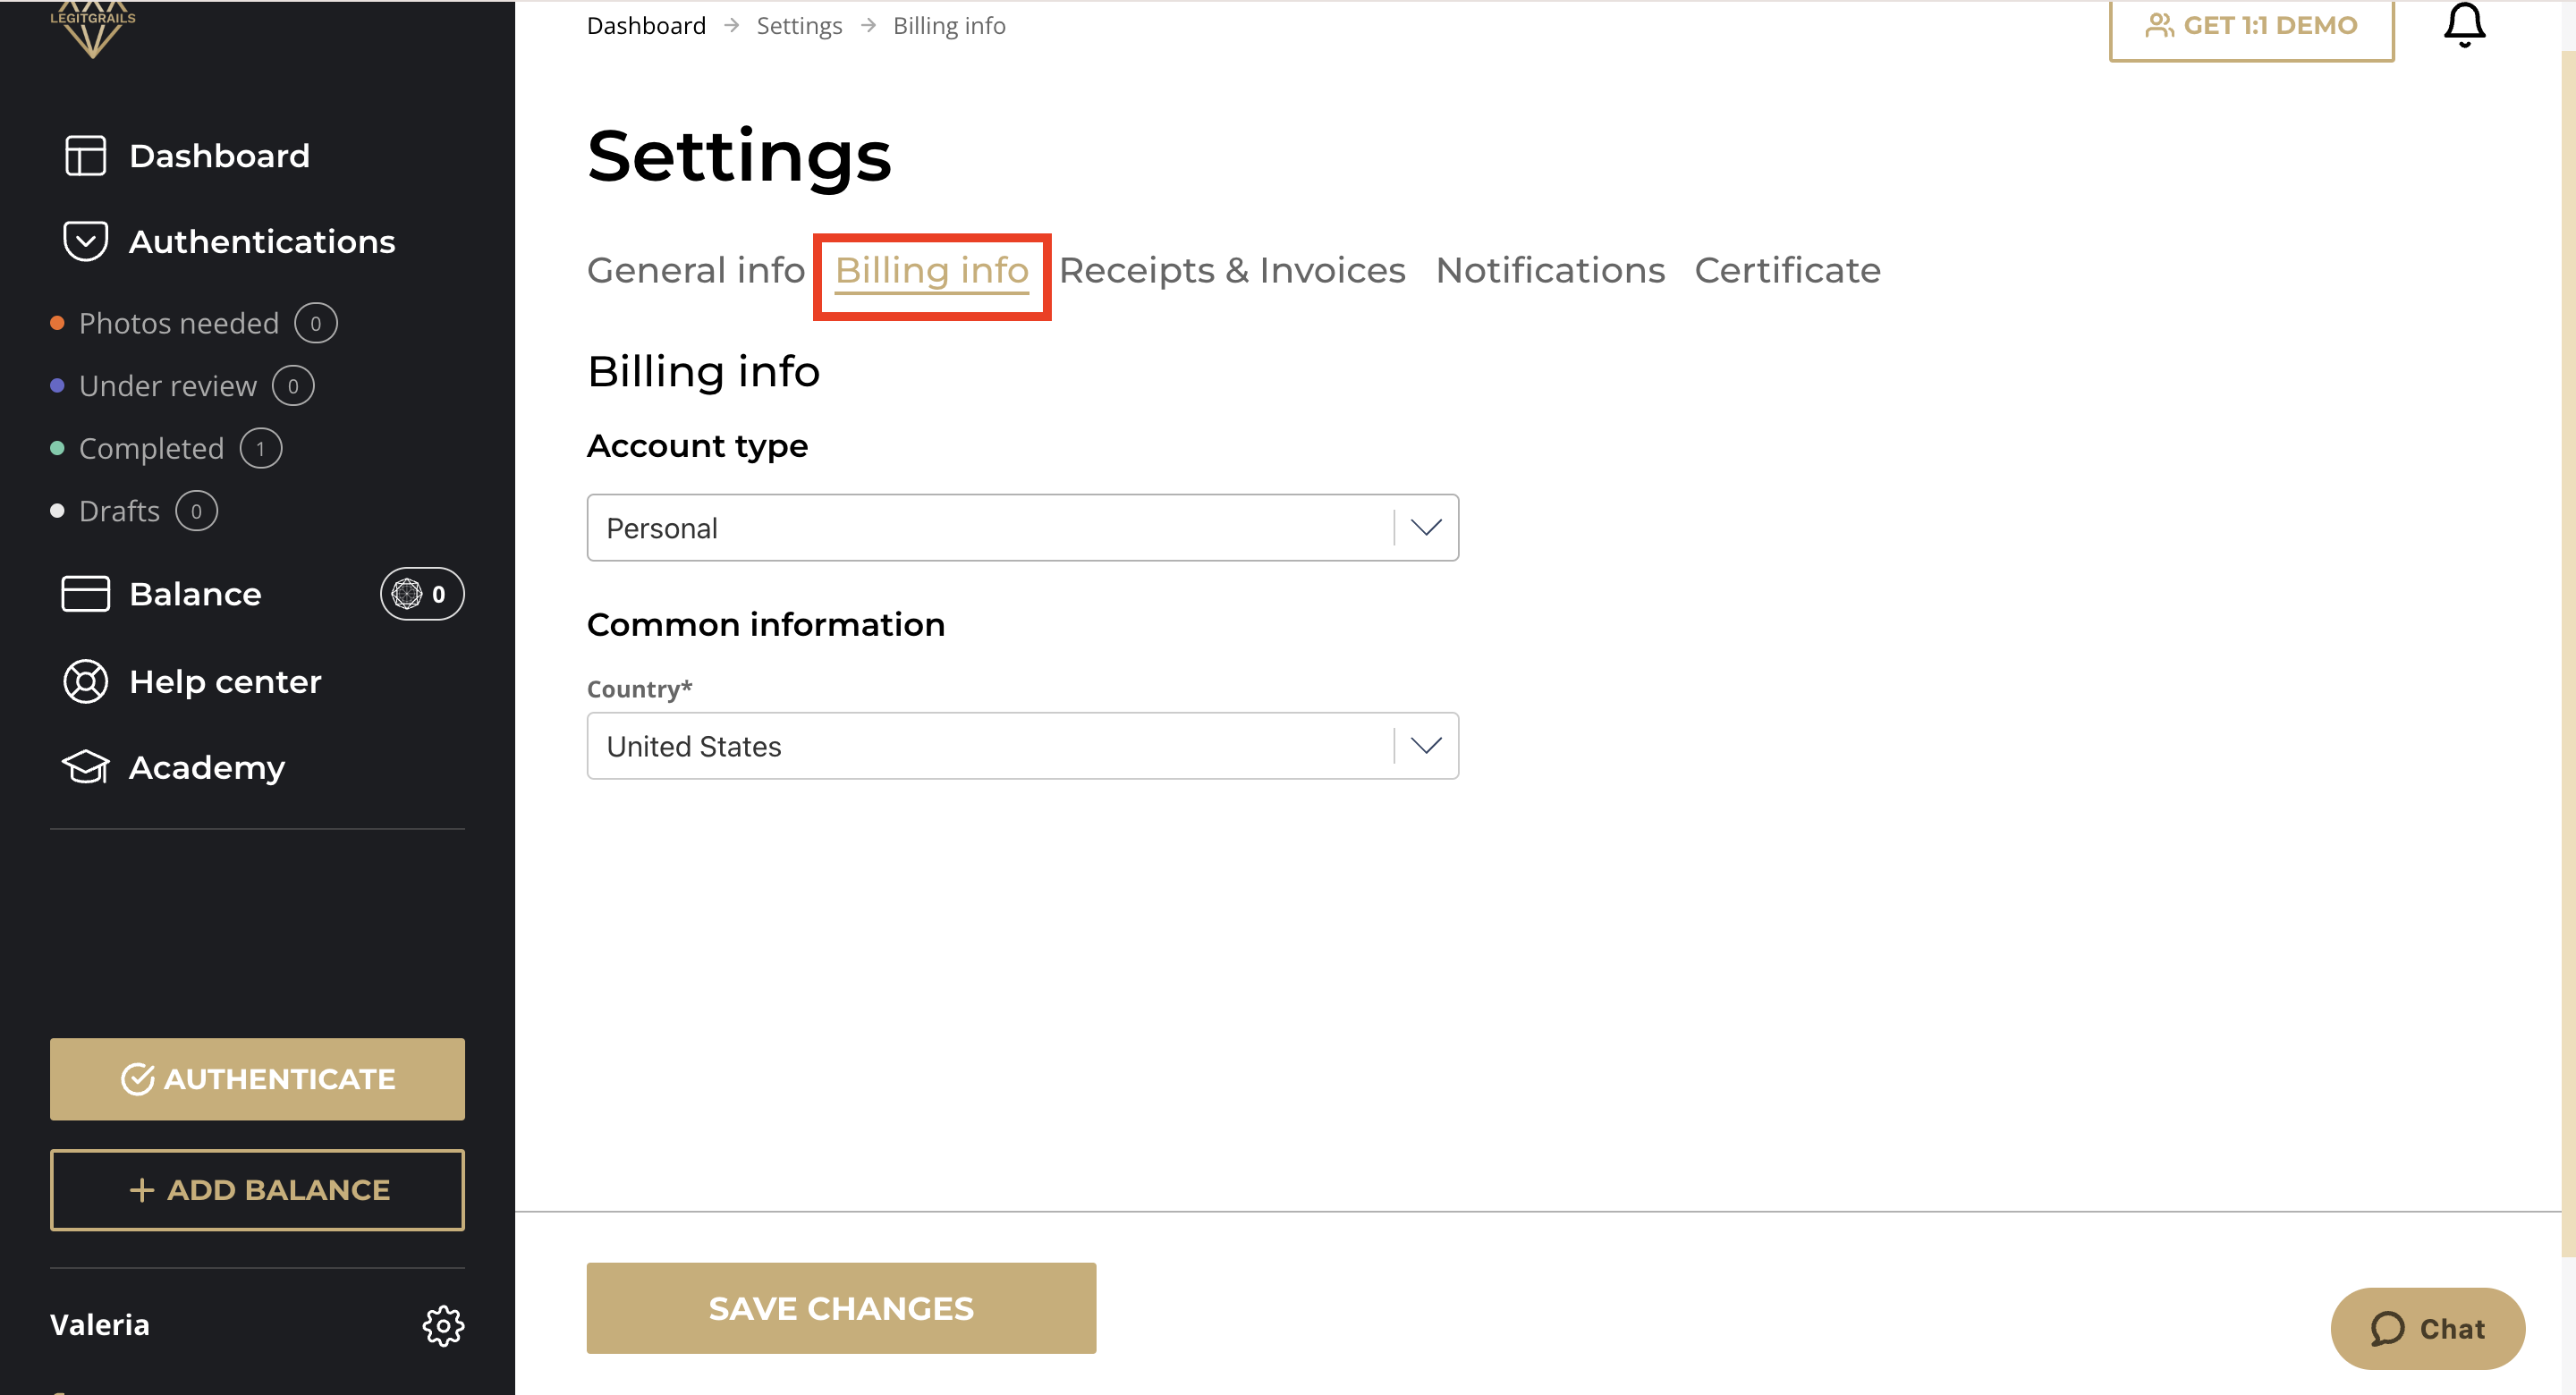
In this section, you can:
Choose the type of your account (personal or business)
Add a billing address according to the account type
For more information on the difference between personal and business accounts, please refer to this article.
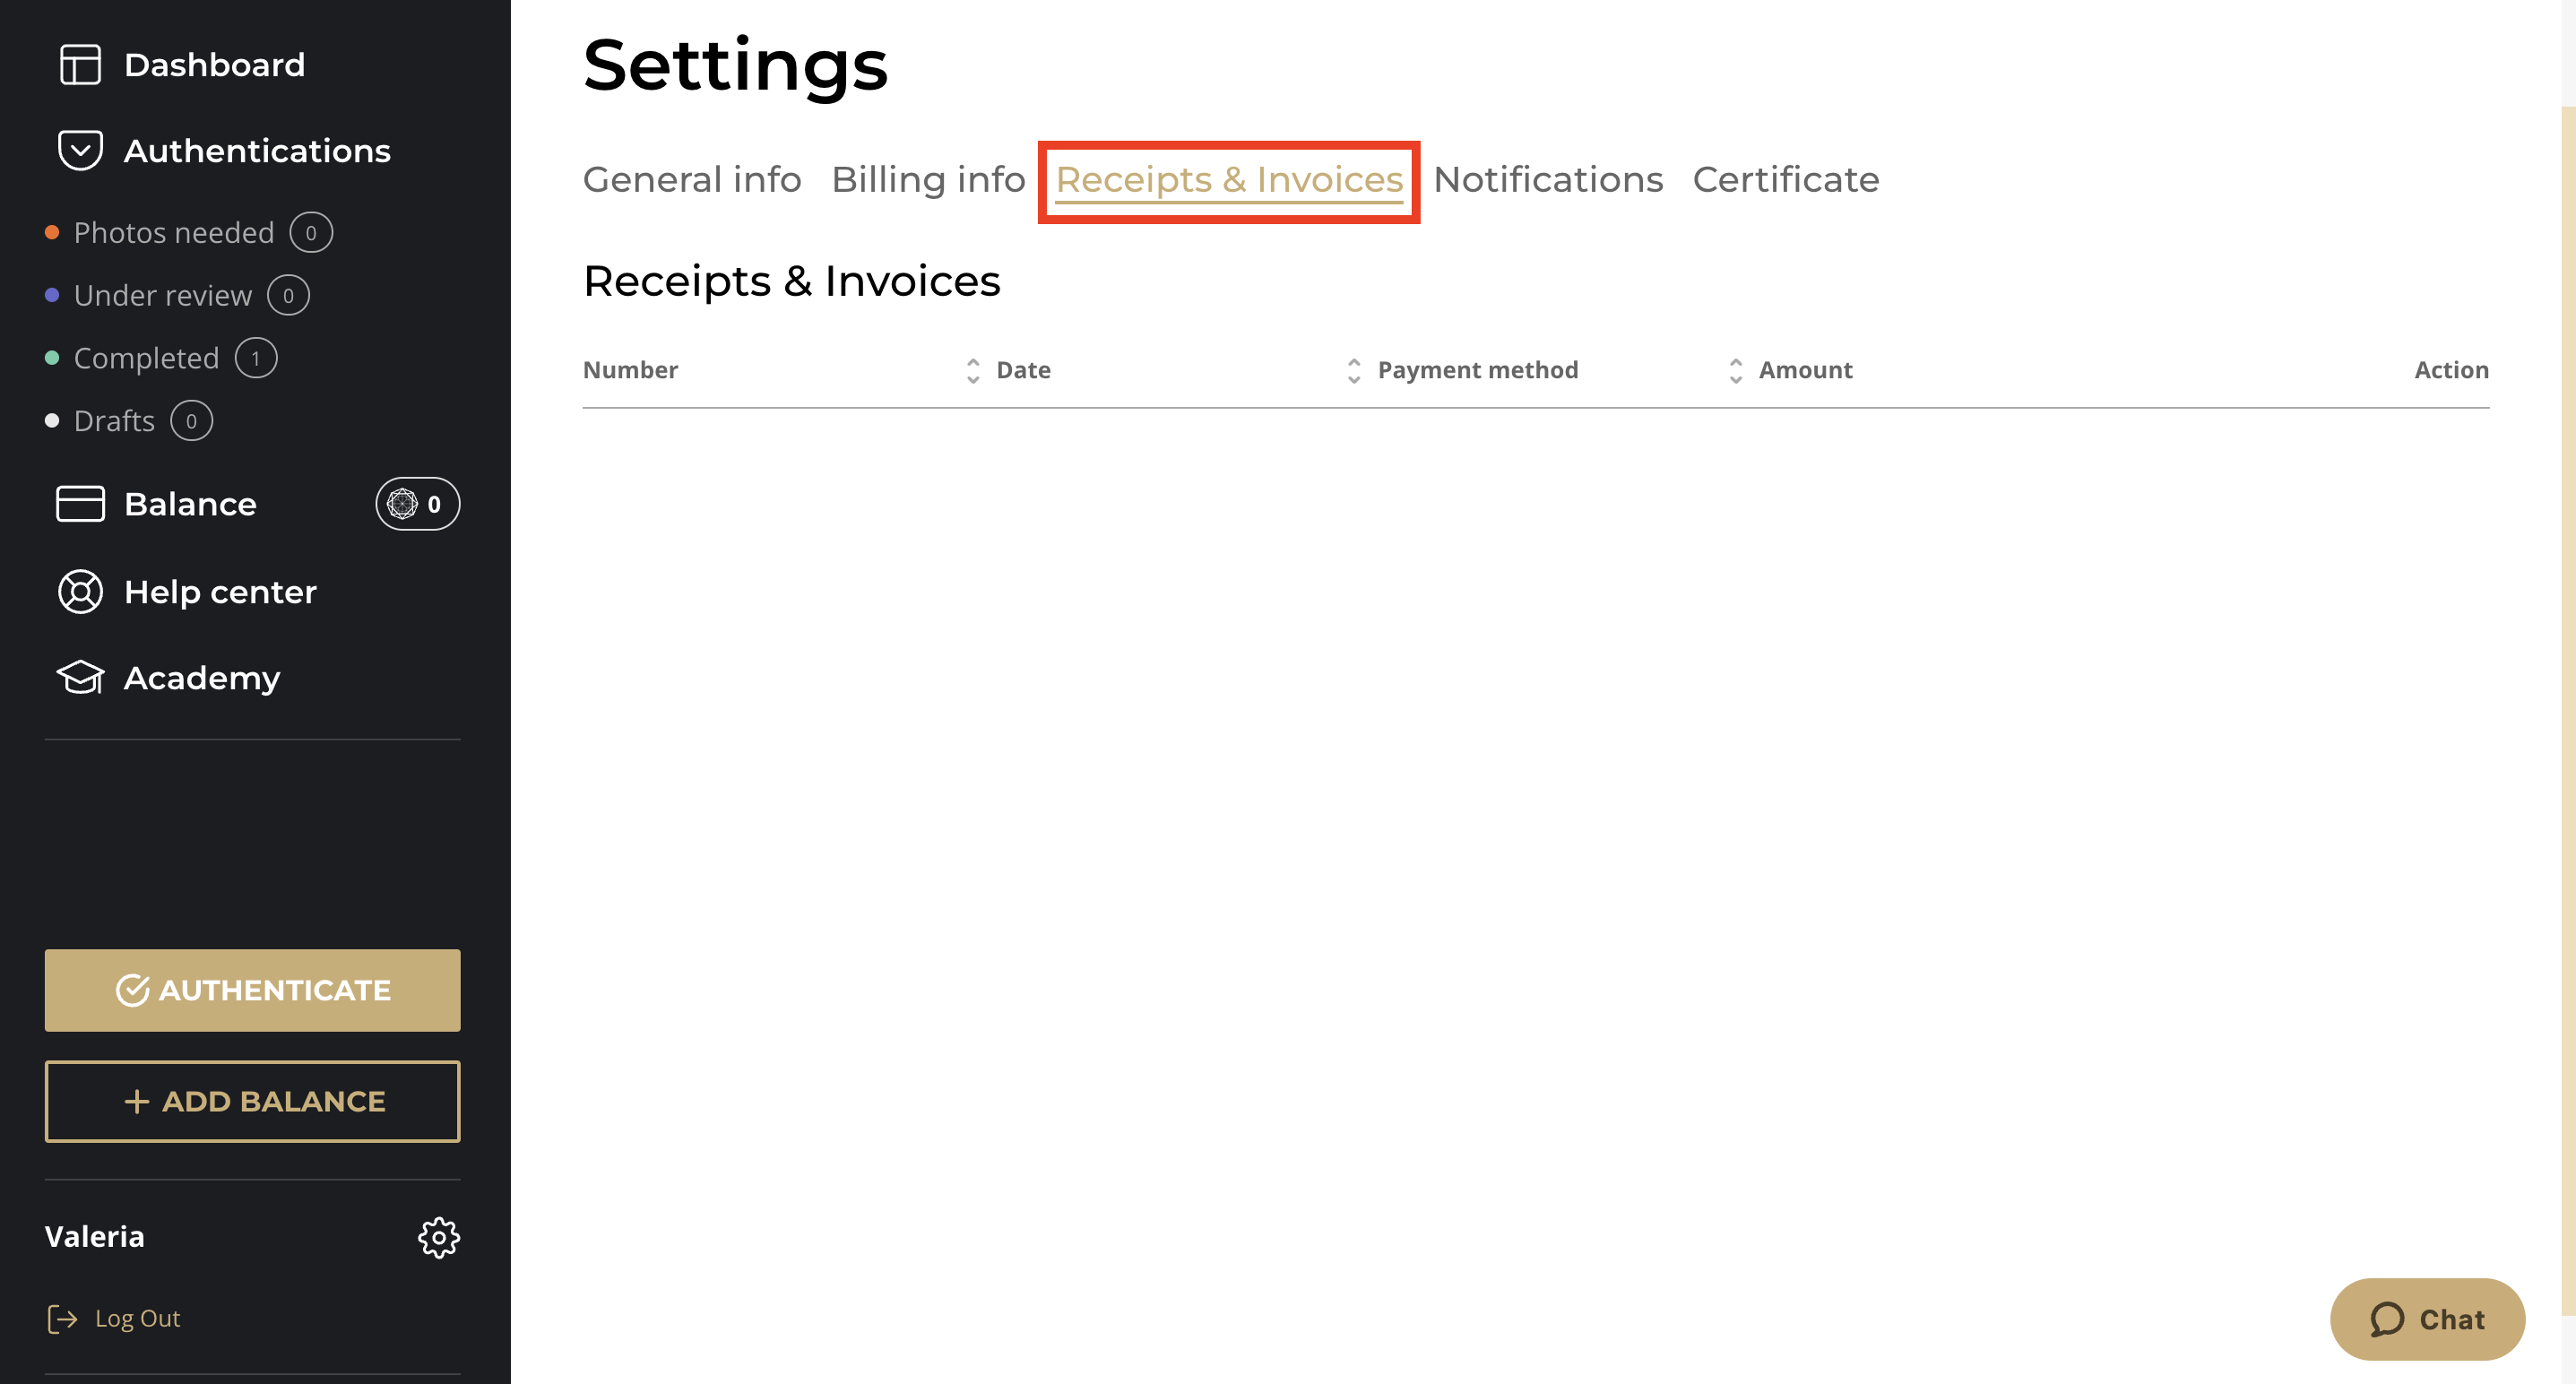
Any invoices generated for your previous orders will be available in this section.
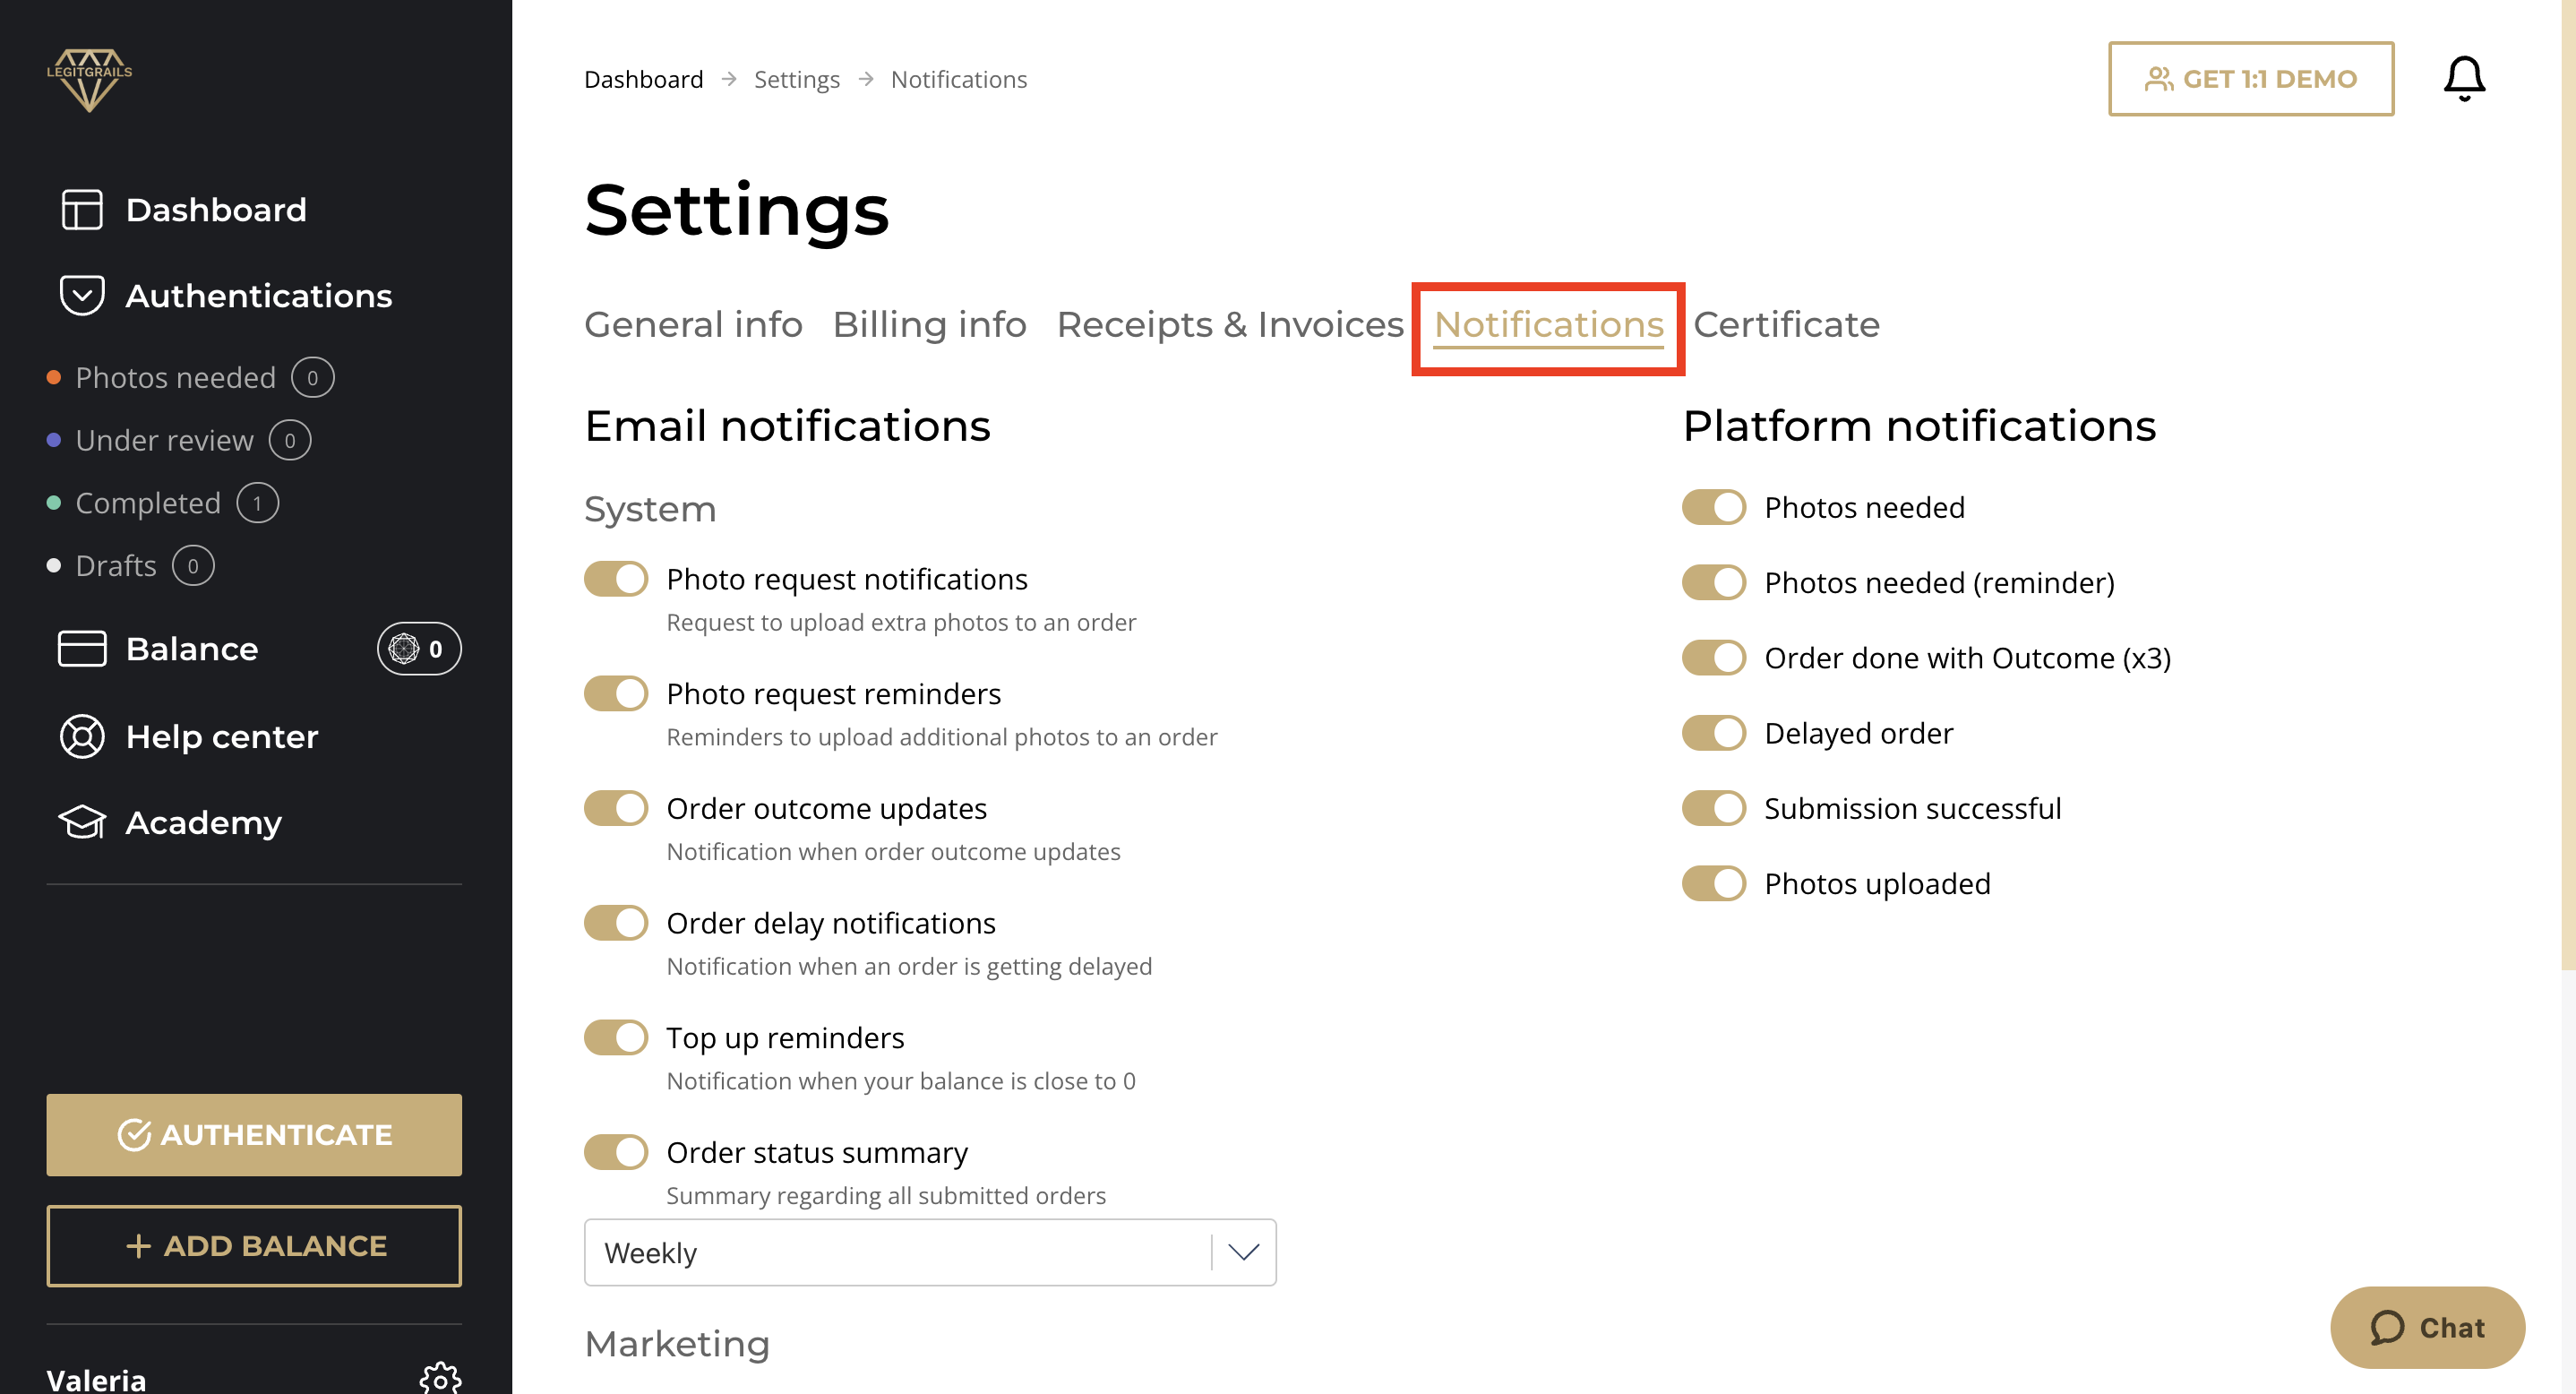
By default, all available notifications (via email or our platform) are activated, including a weekly summary for all submitted orders. You can adjust these notifications according to your preferences.
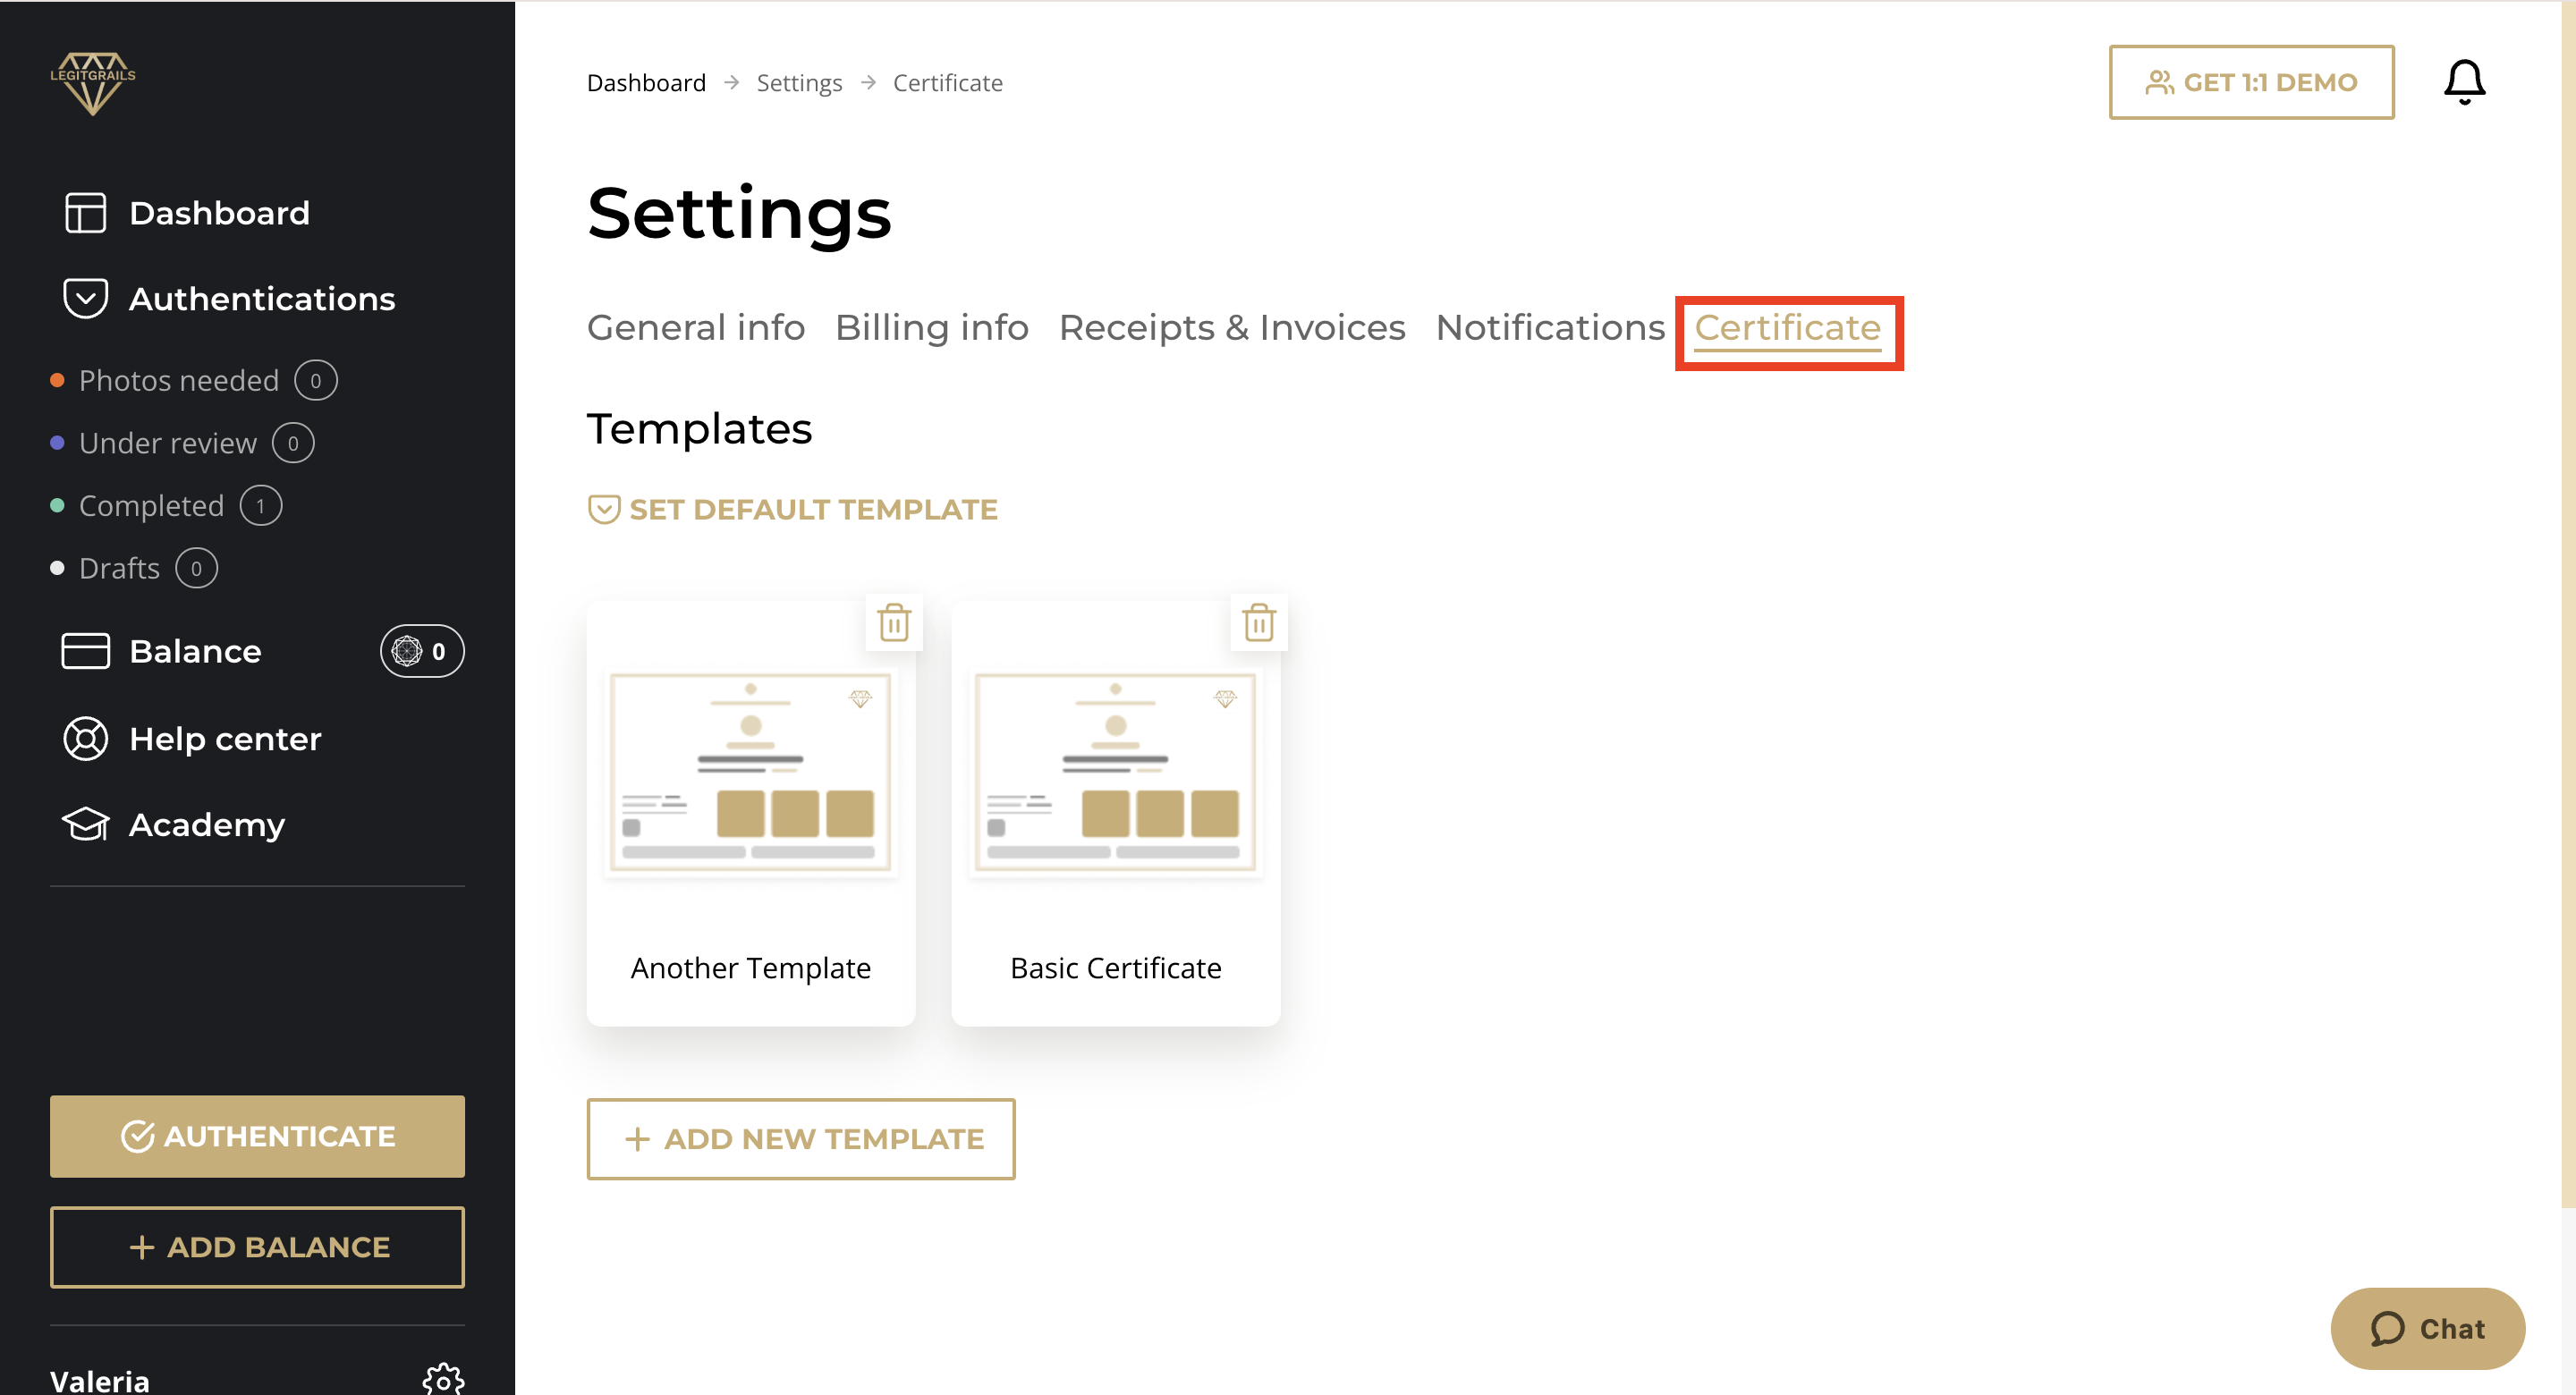
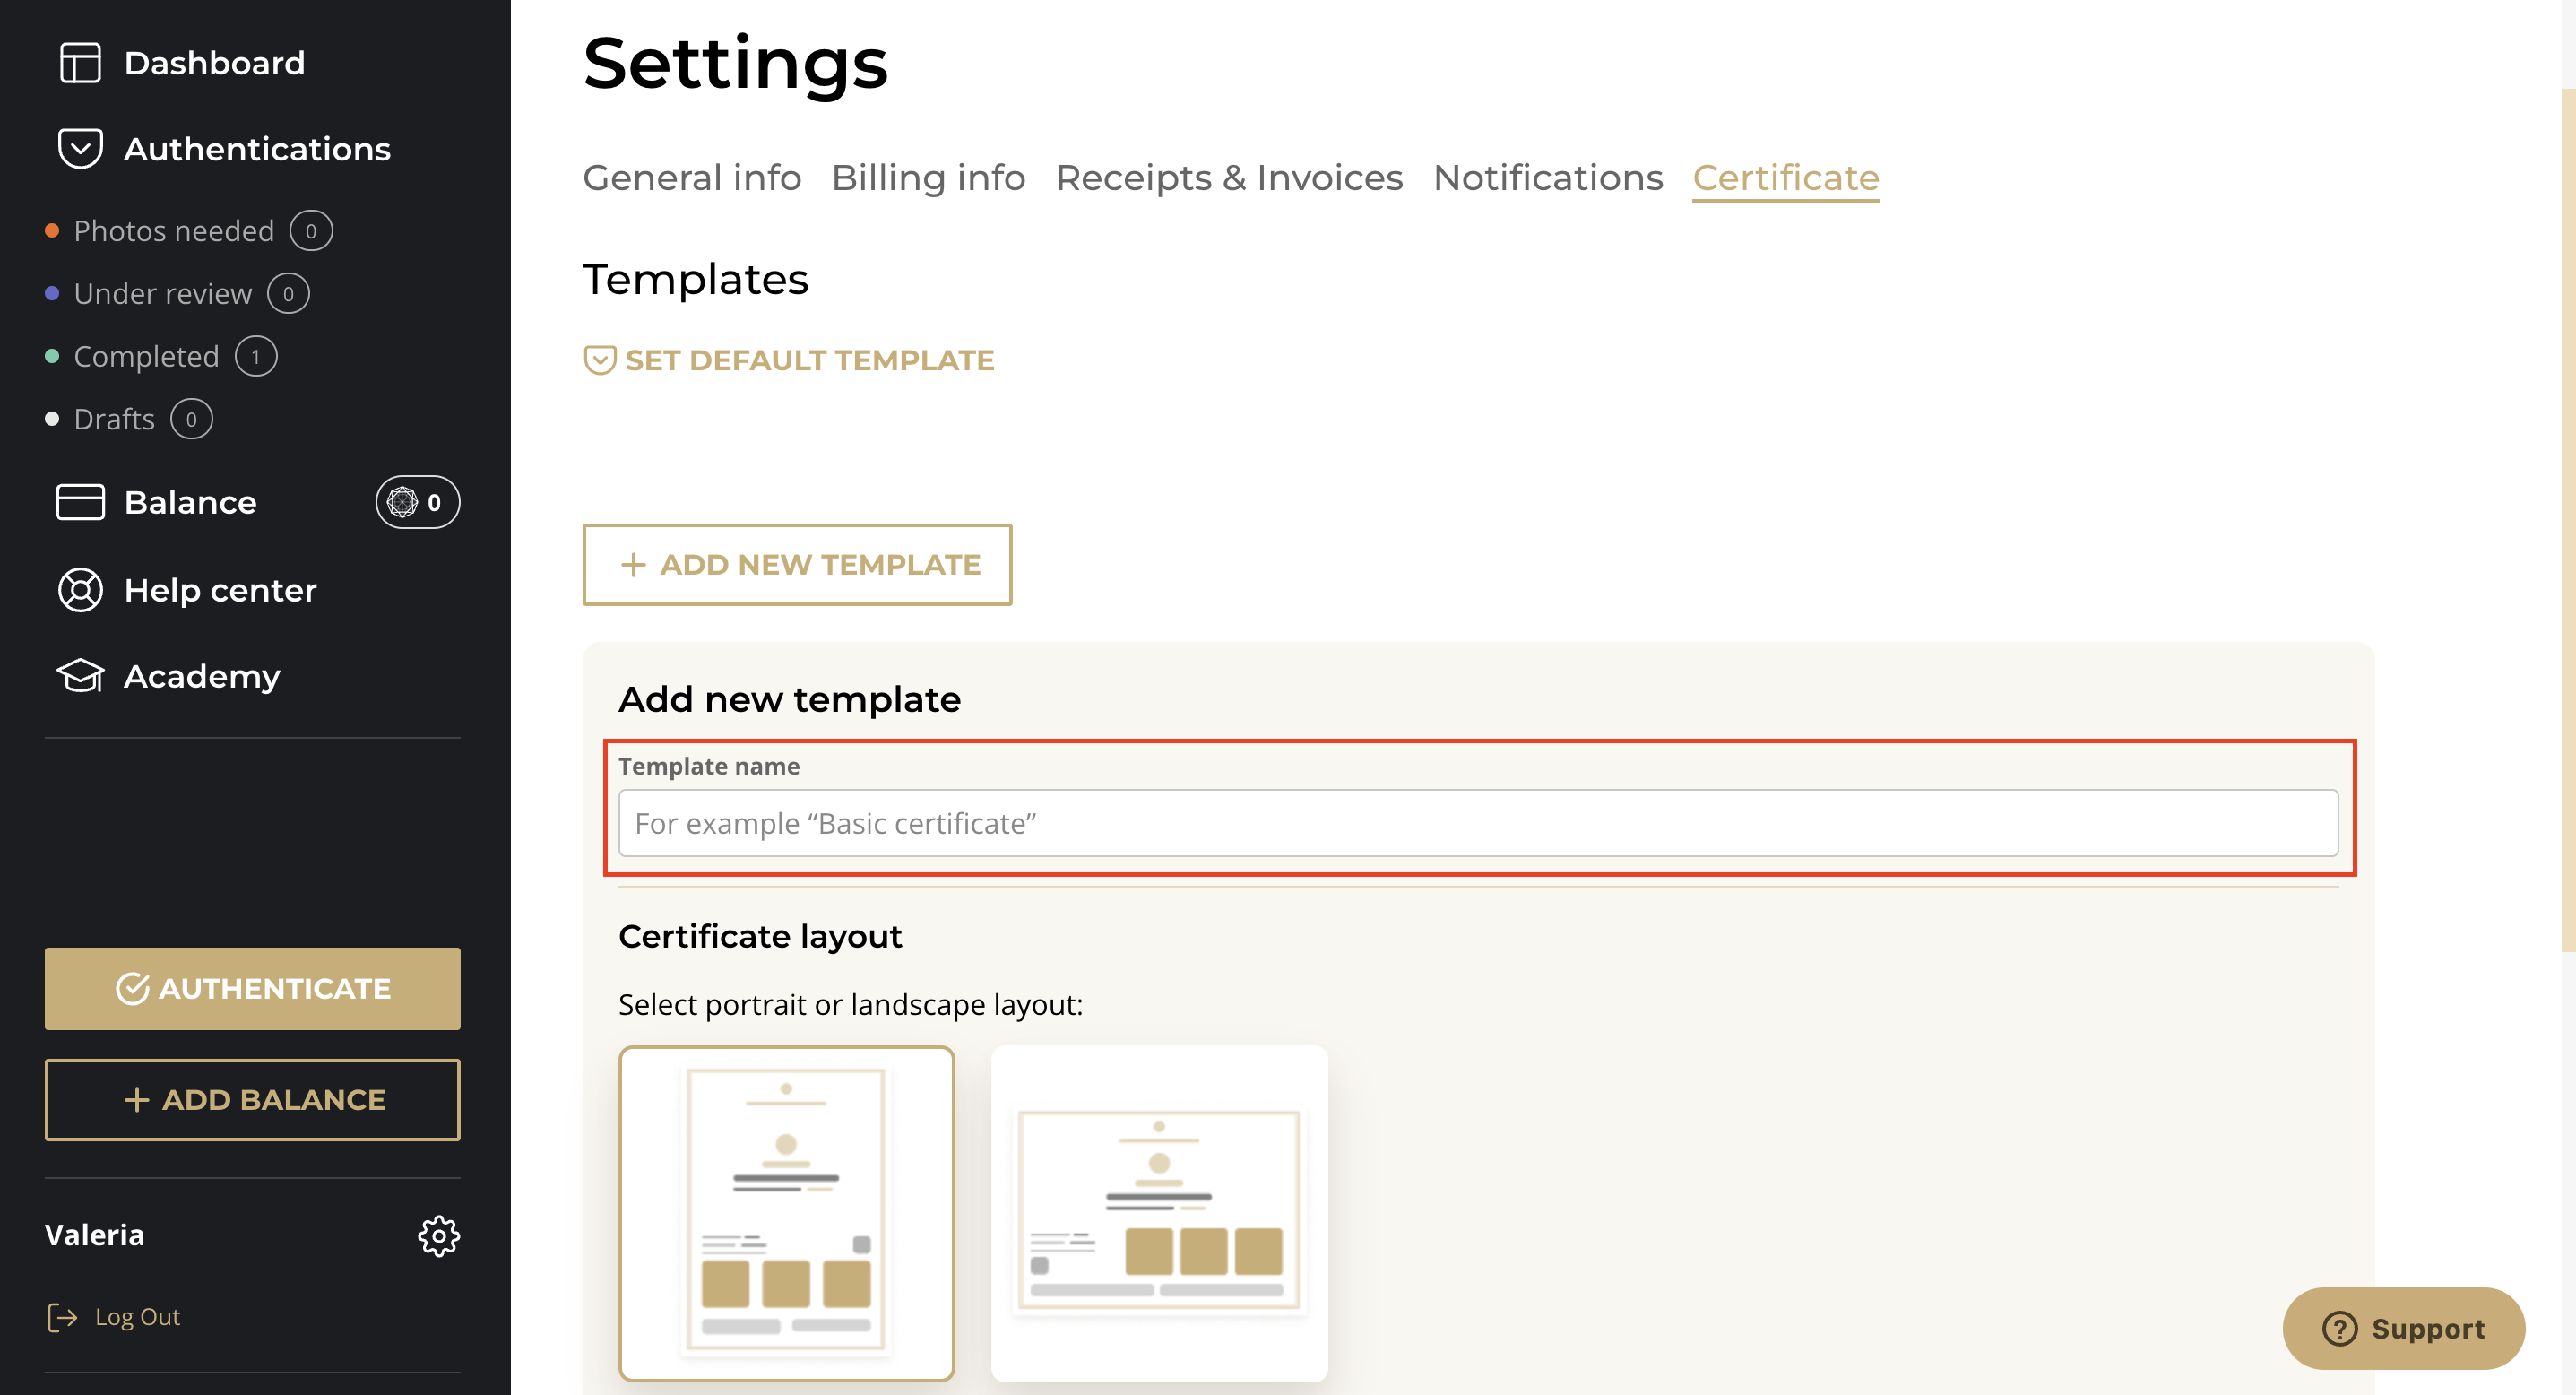
In the Certificate section, you can customize your certificate layout and set a template for future use. Follow these steps:
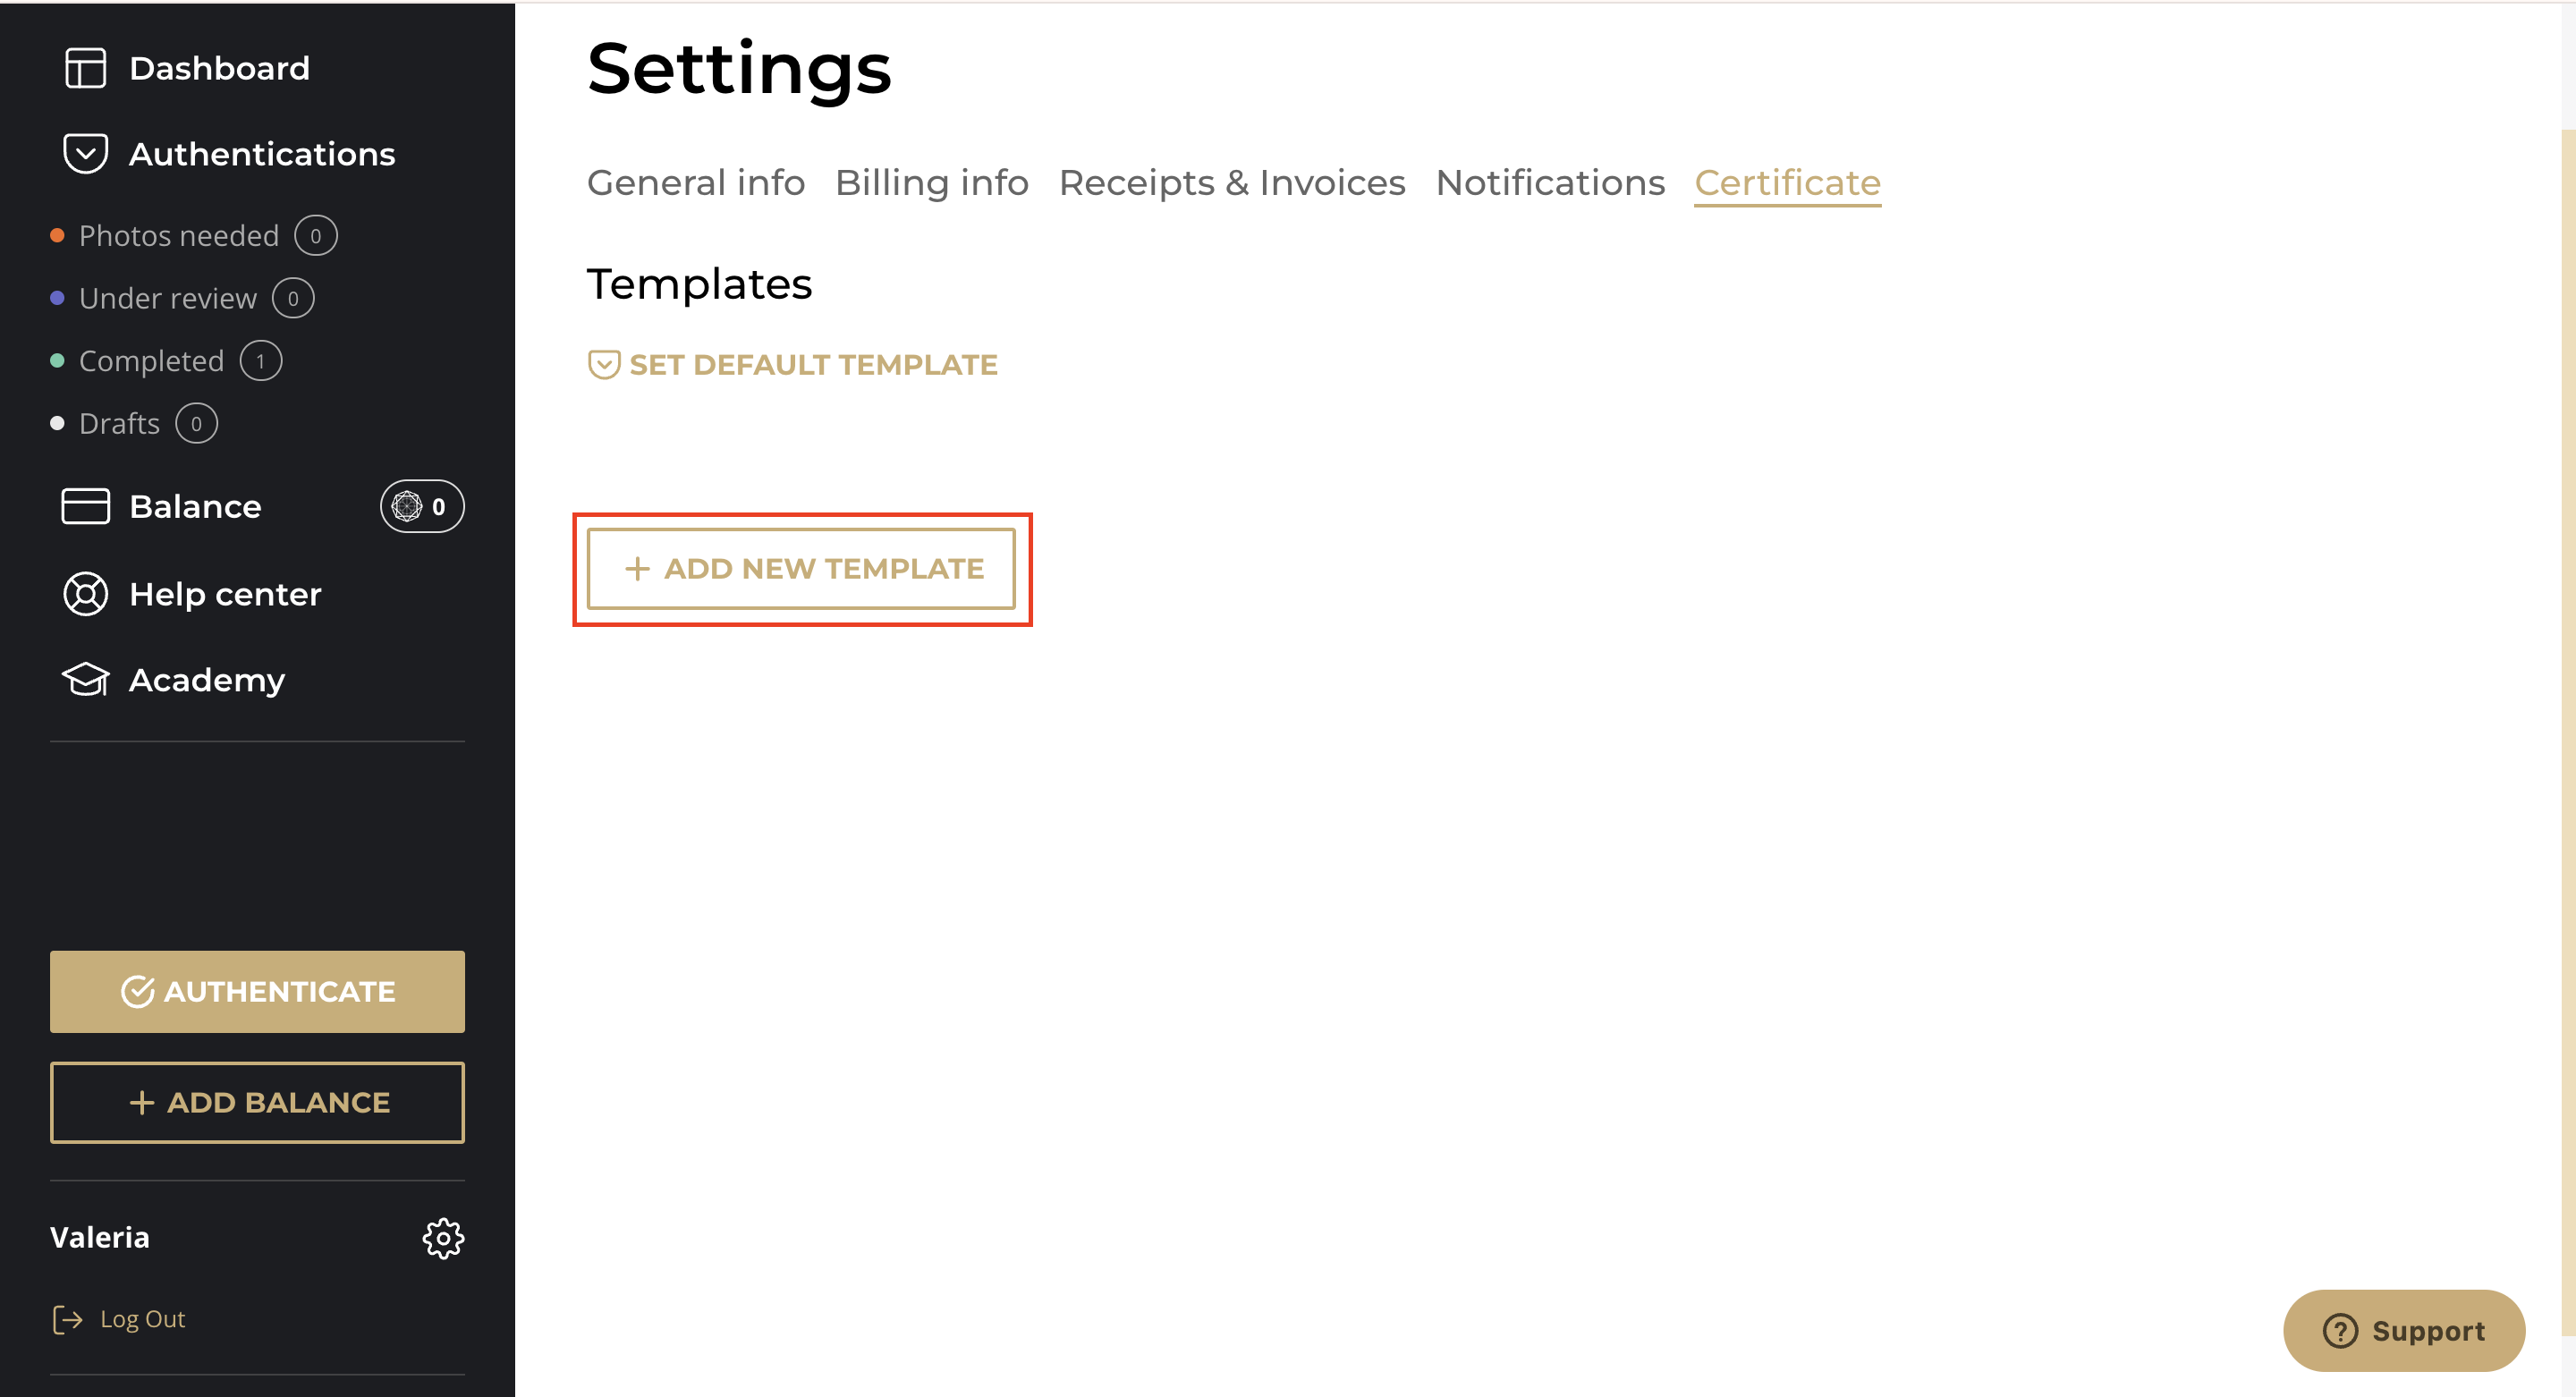
Press the "+ Add new template" button and scroll down to see the customization options.
Template Name: Add a name that helps you identify the template. This field is not visible in the public link to your certificate.
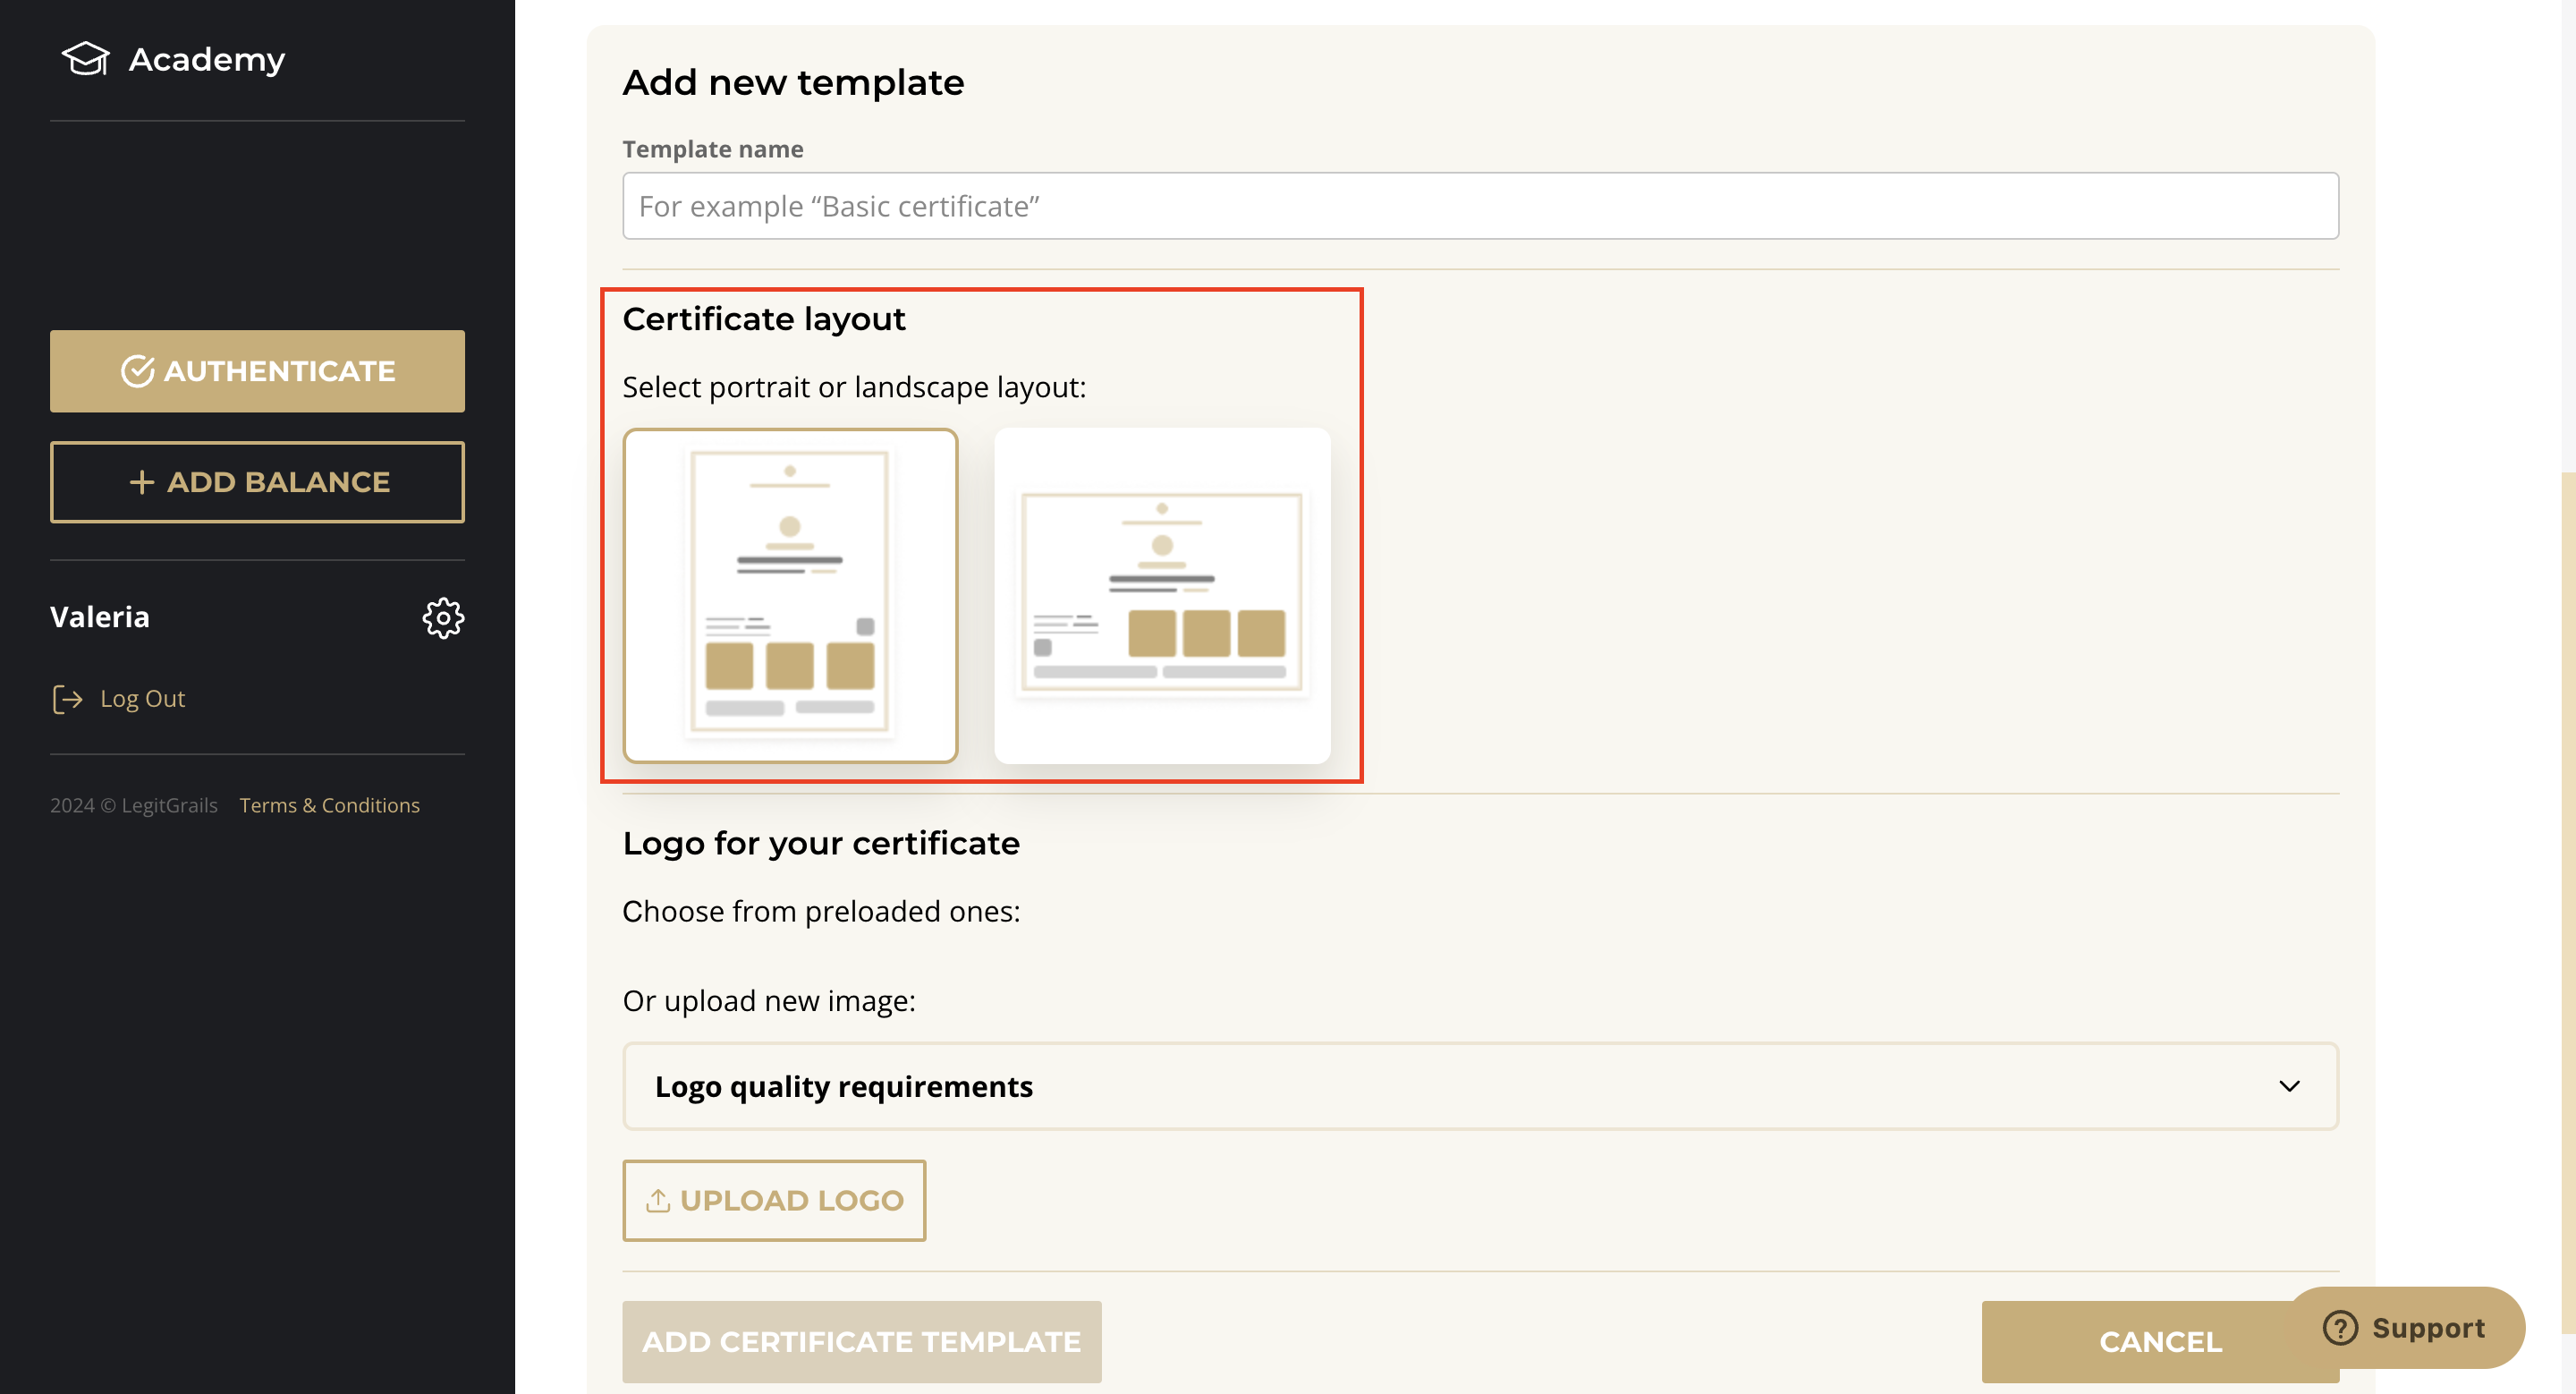
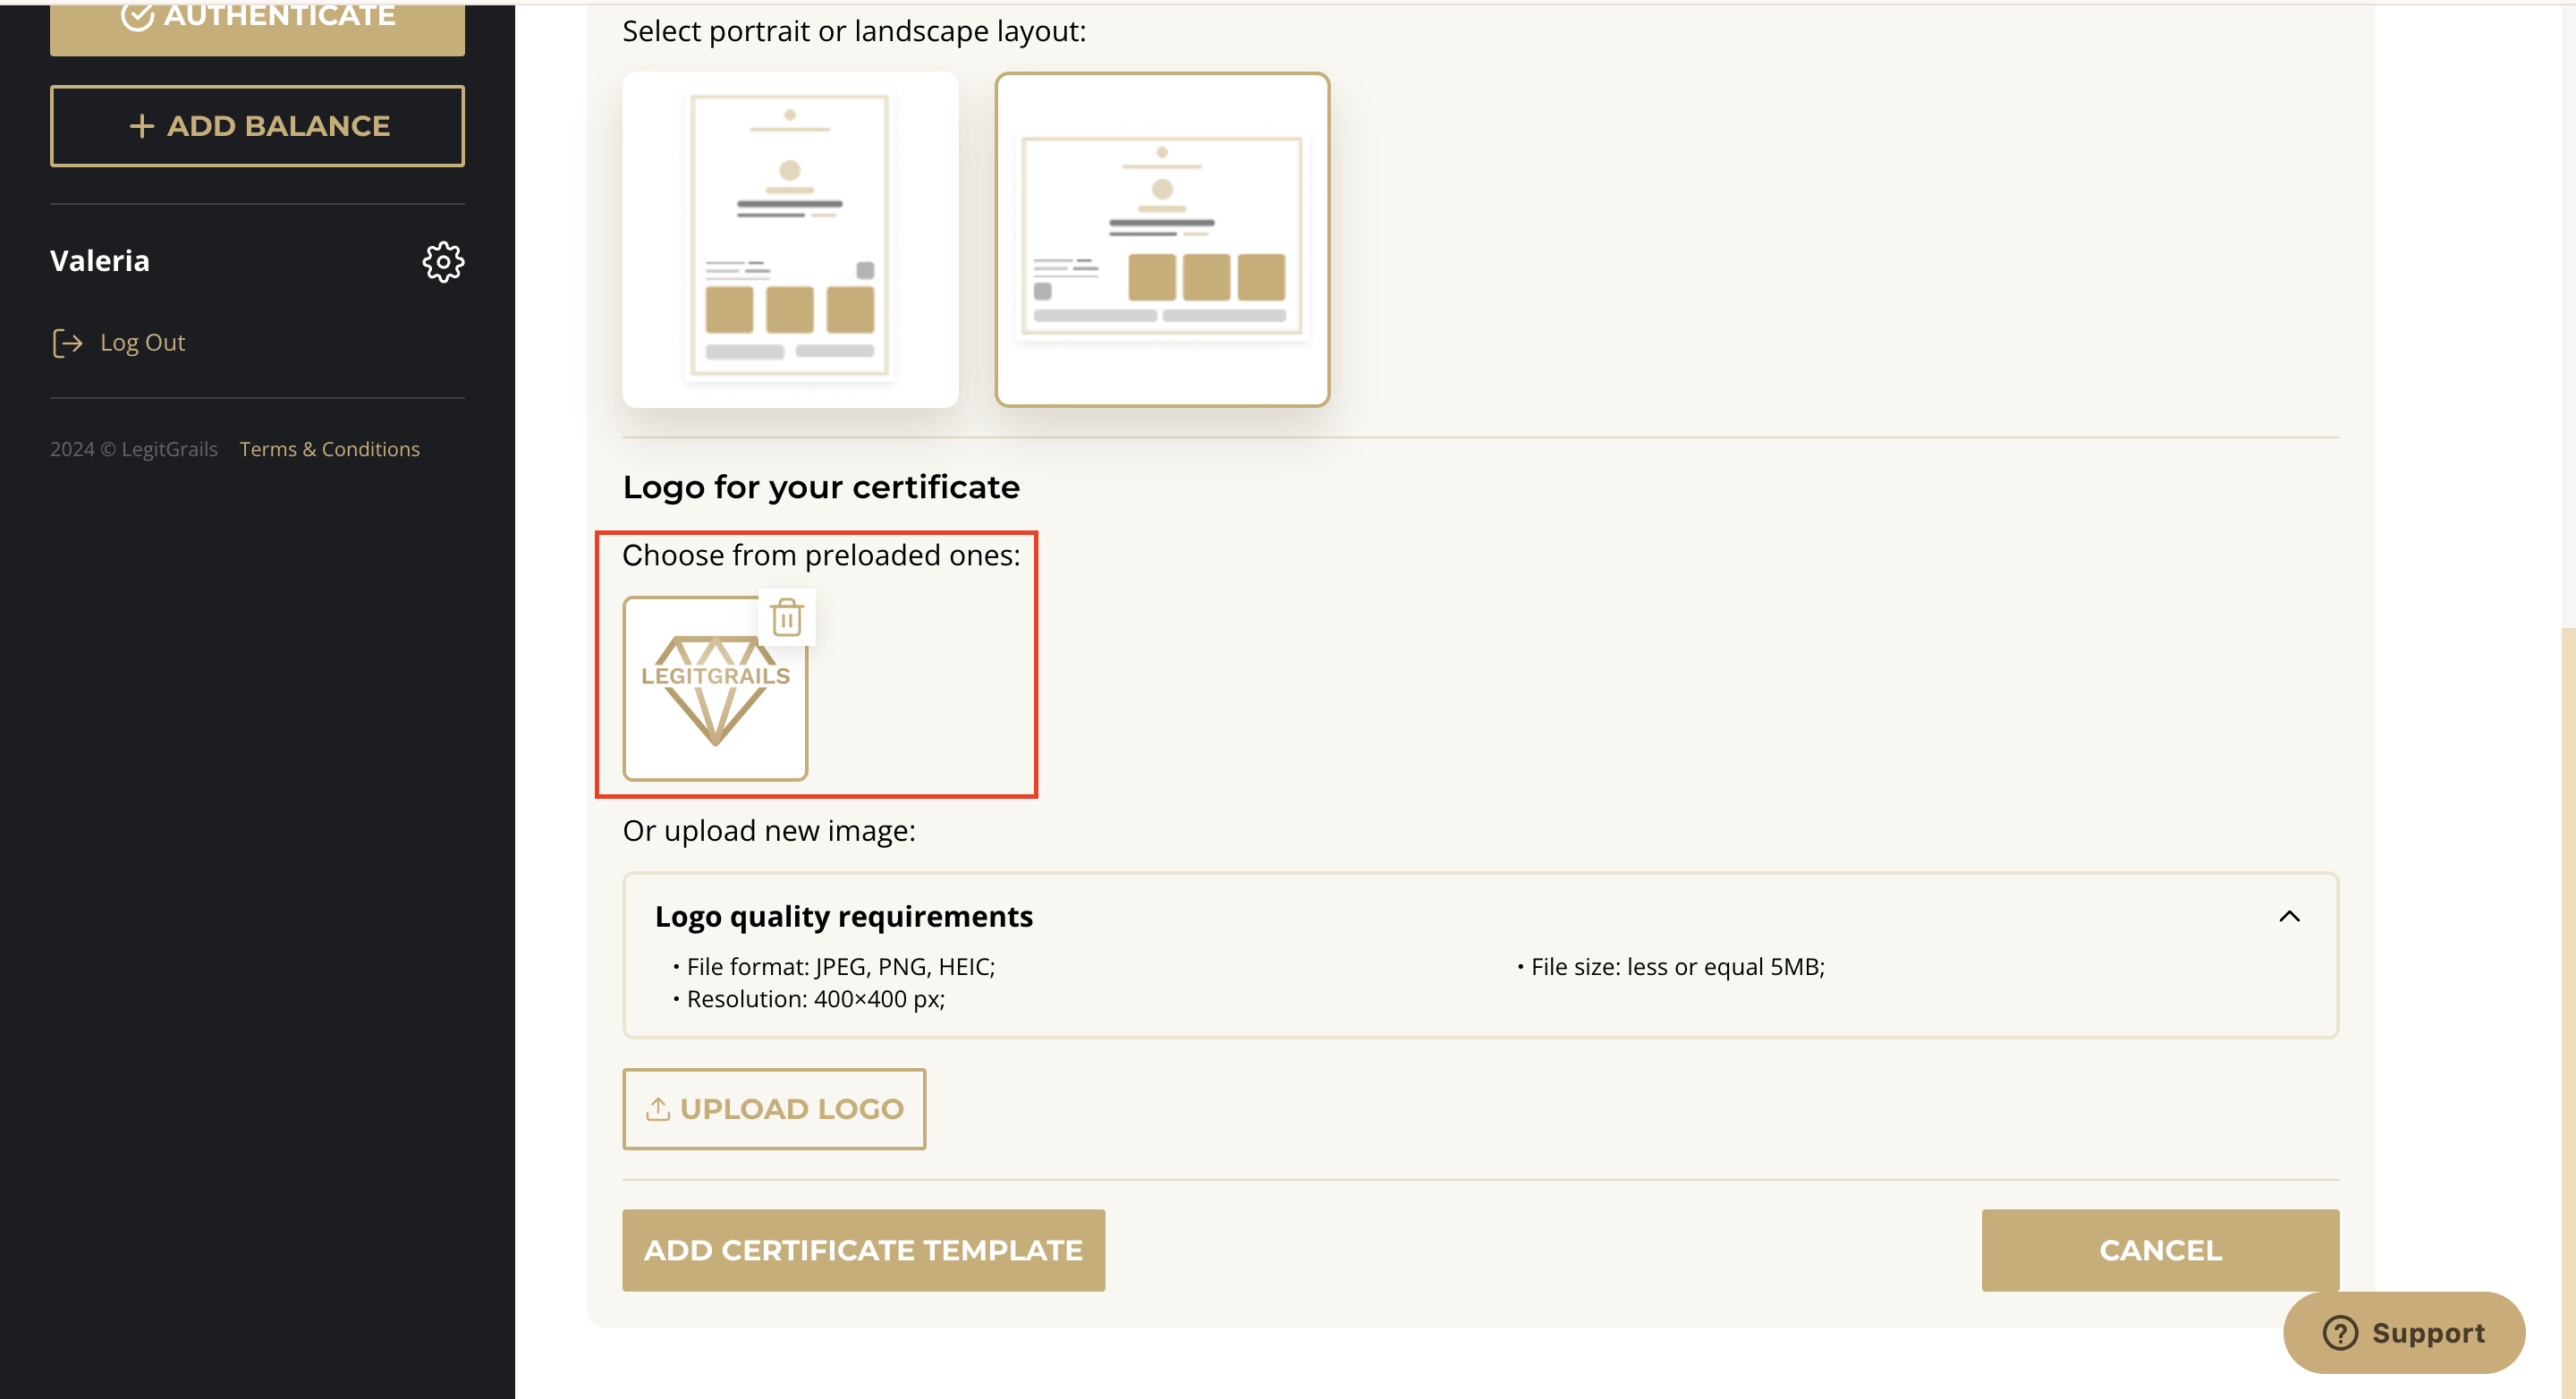
Certificate Layout: Choose between horizontal and vertical layouts.
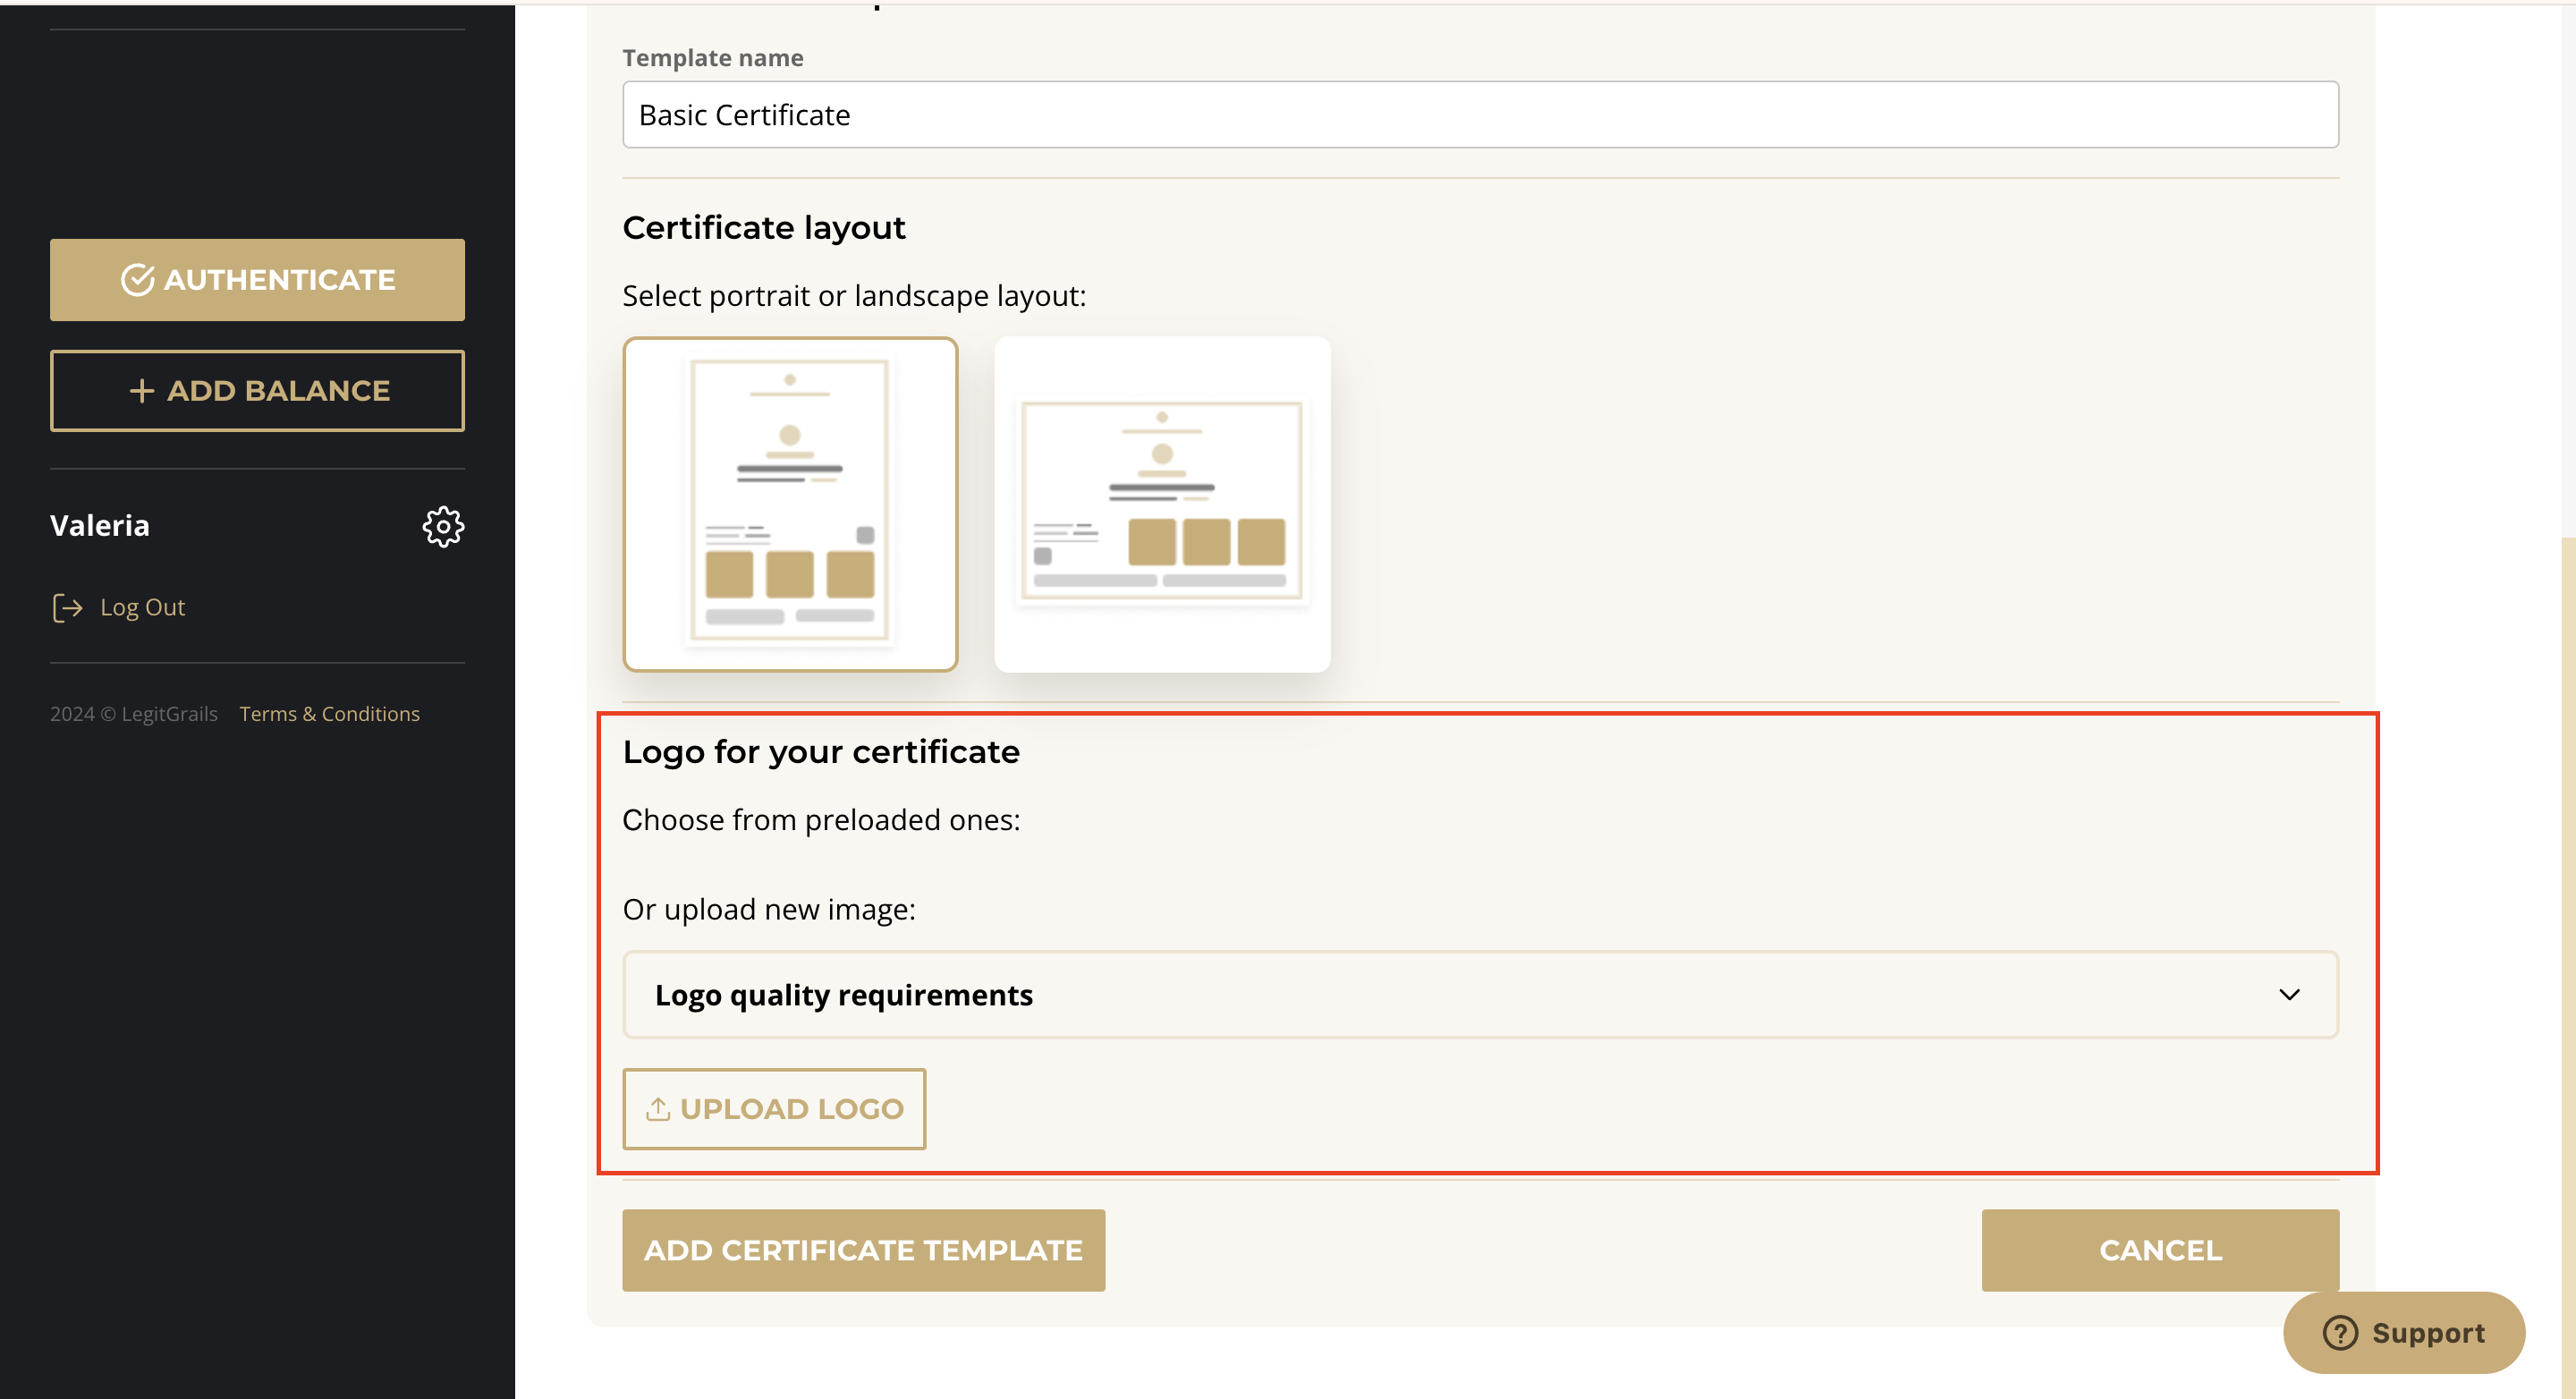
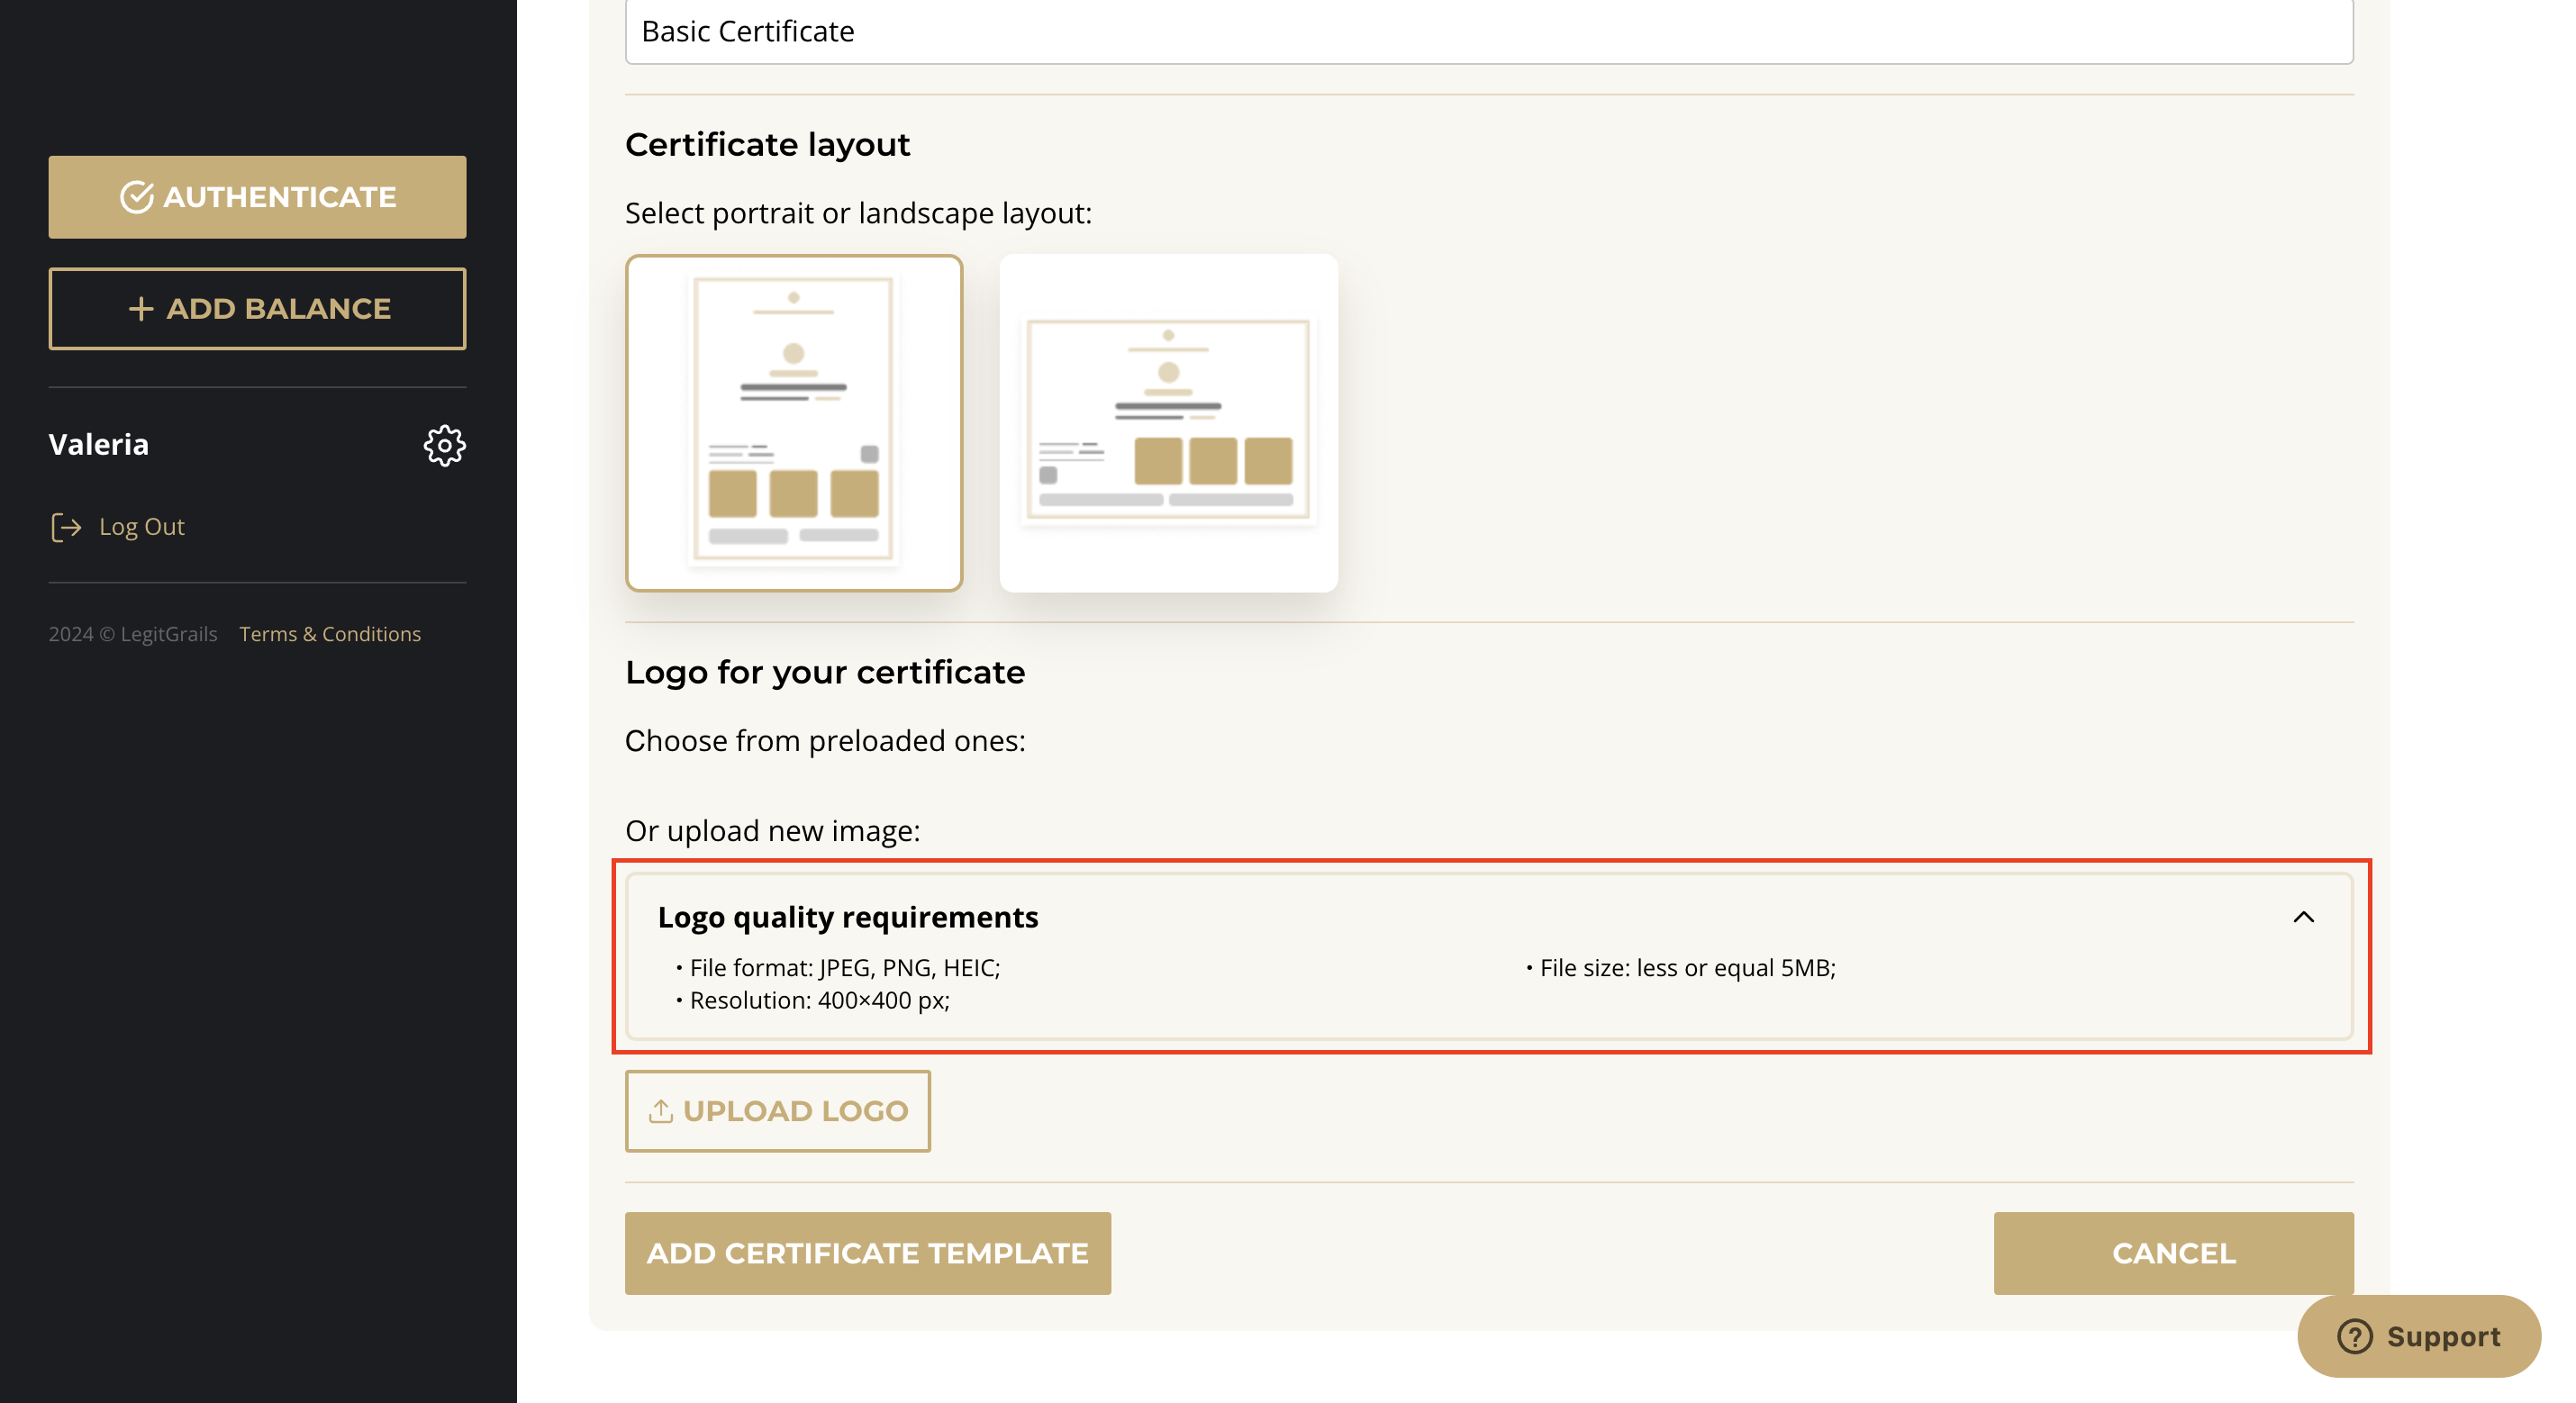
Logo for Your Certificate: Optionally, add a logo to be displayed on the certificate's upper central part. Ensure the logo meets the quality requirements before uploading.
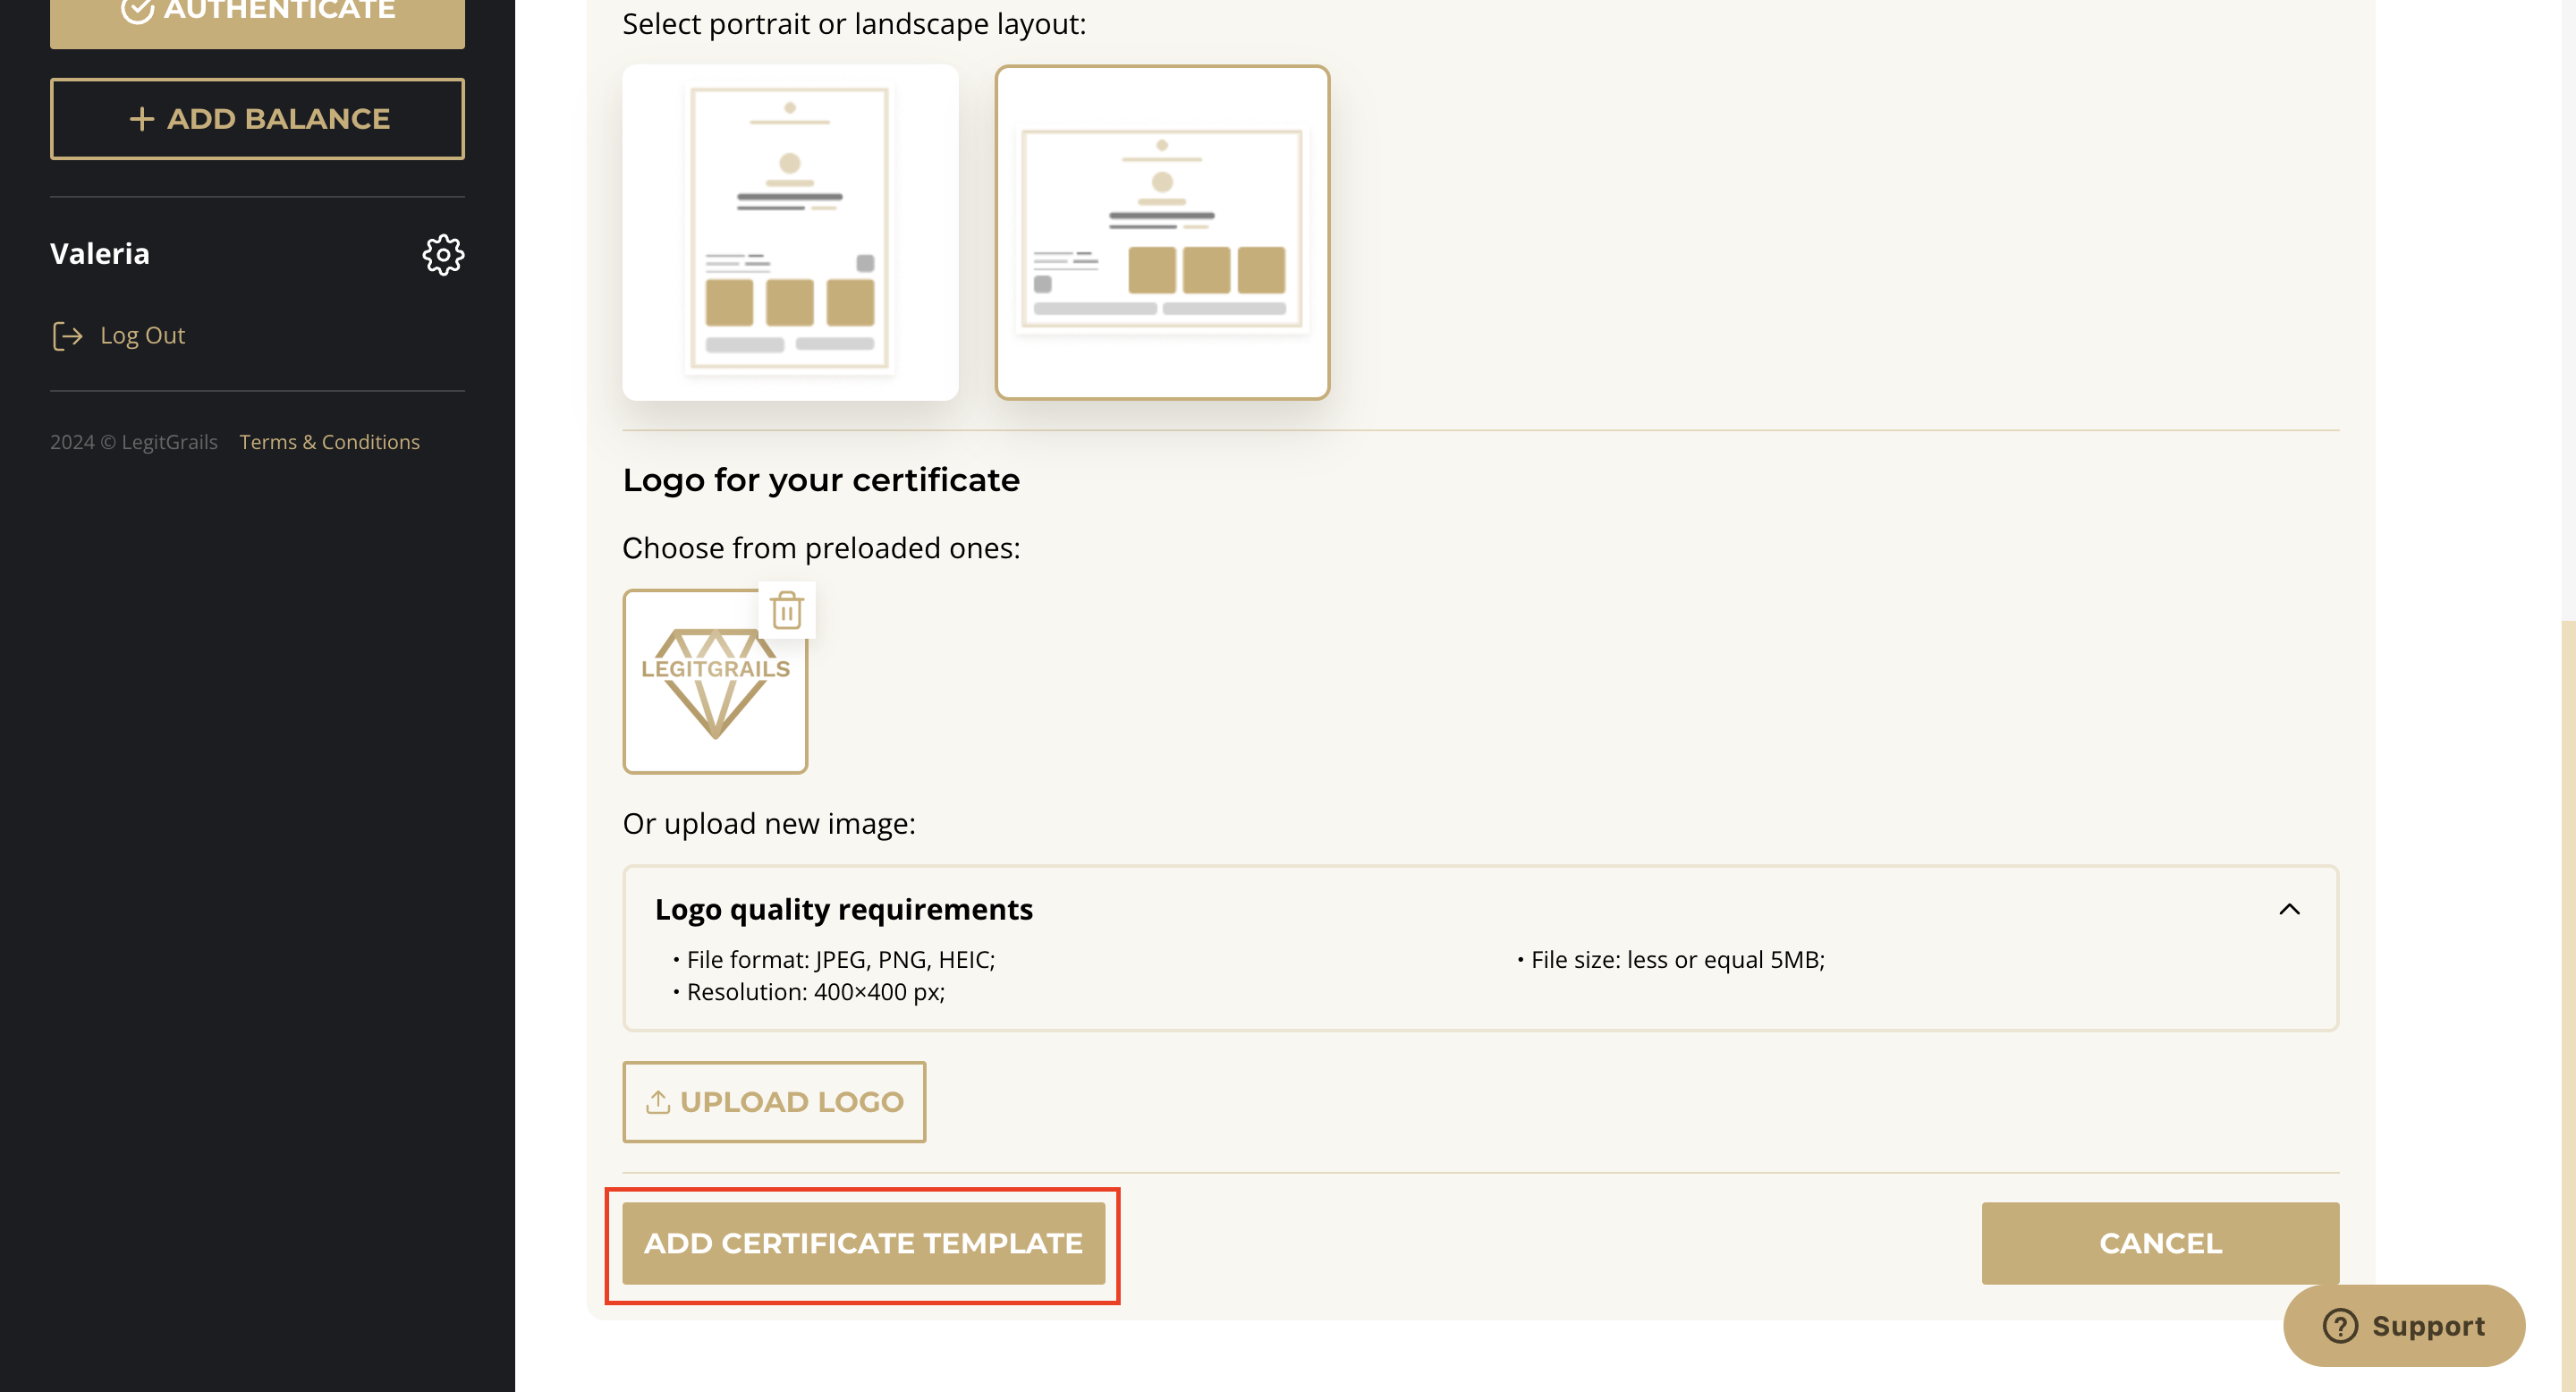
After completing the fields, press "Add certificate template."
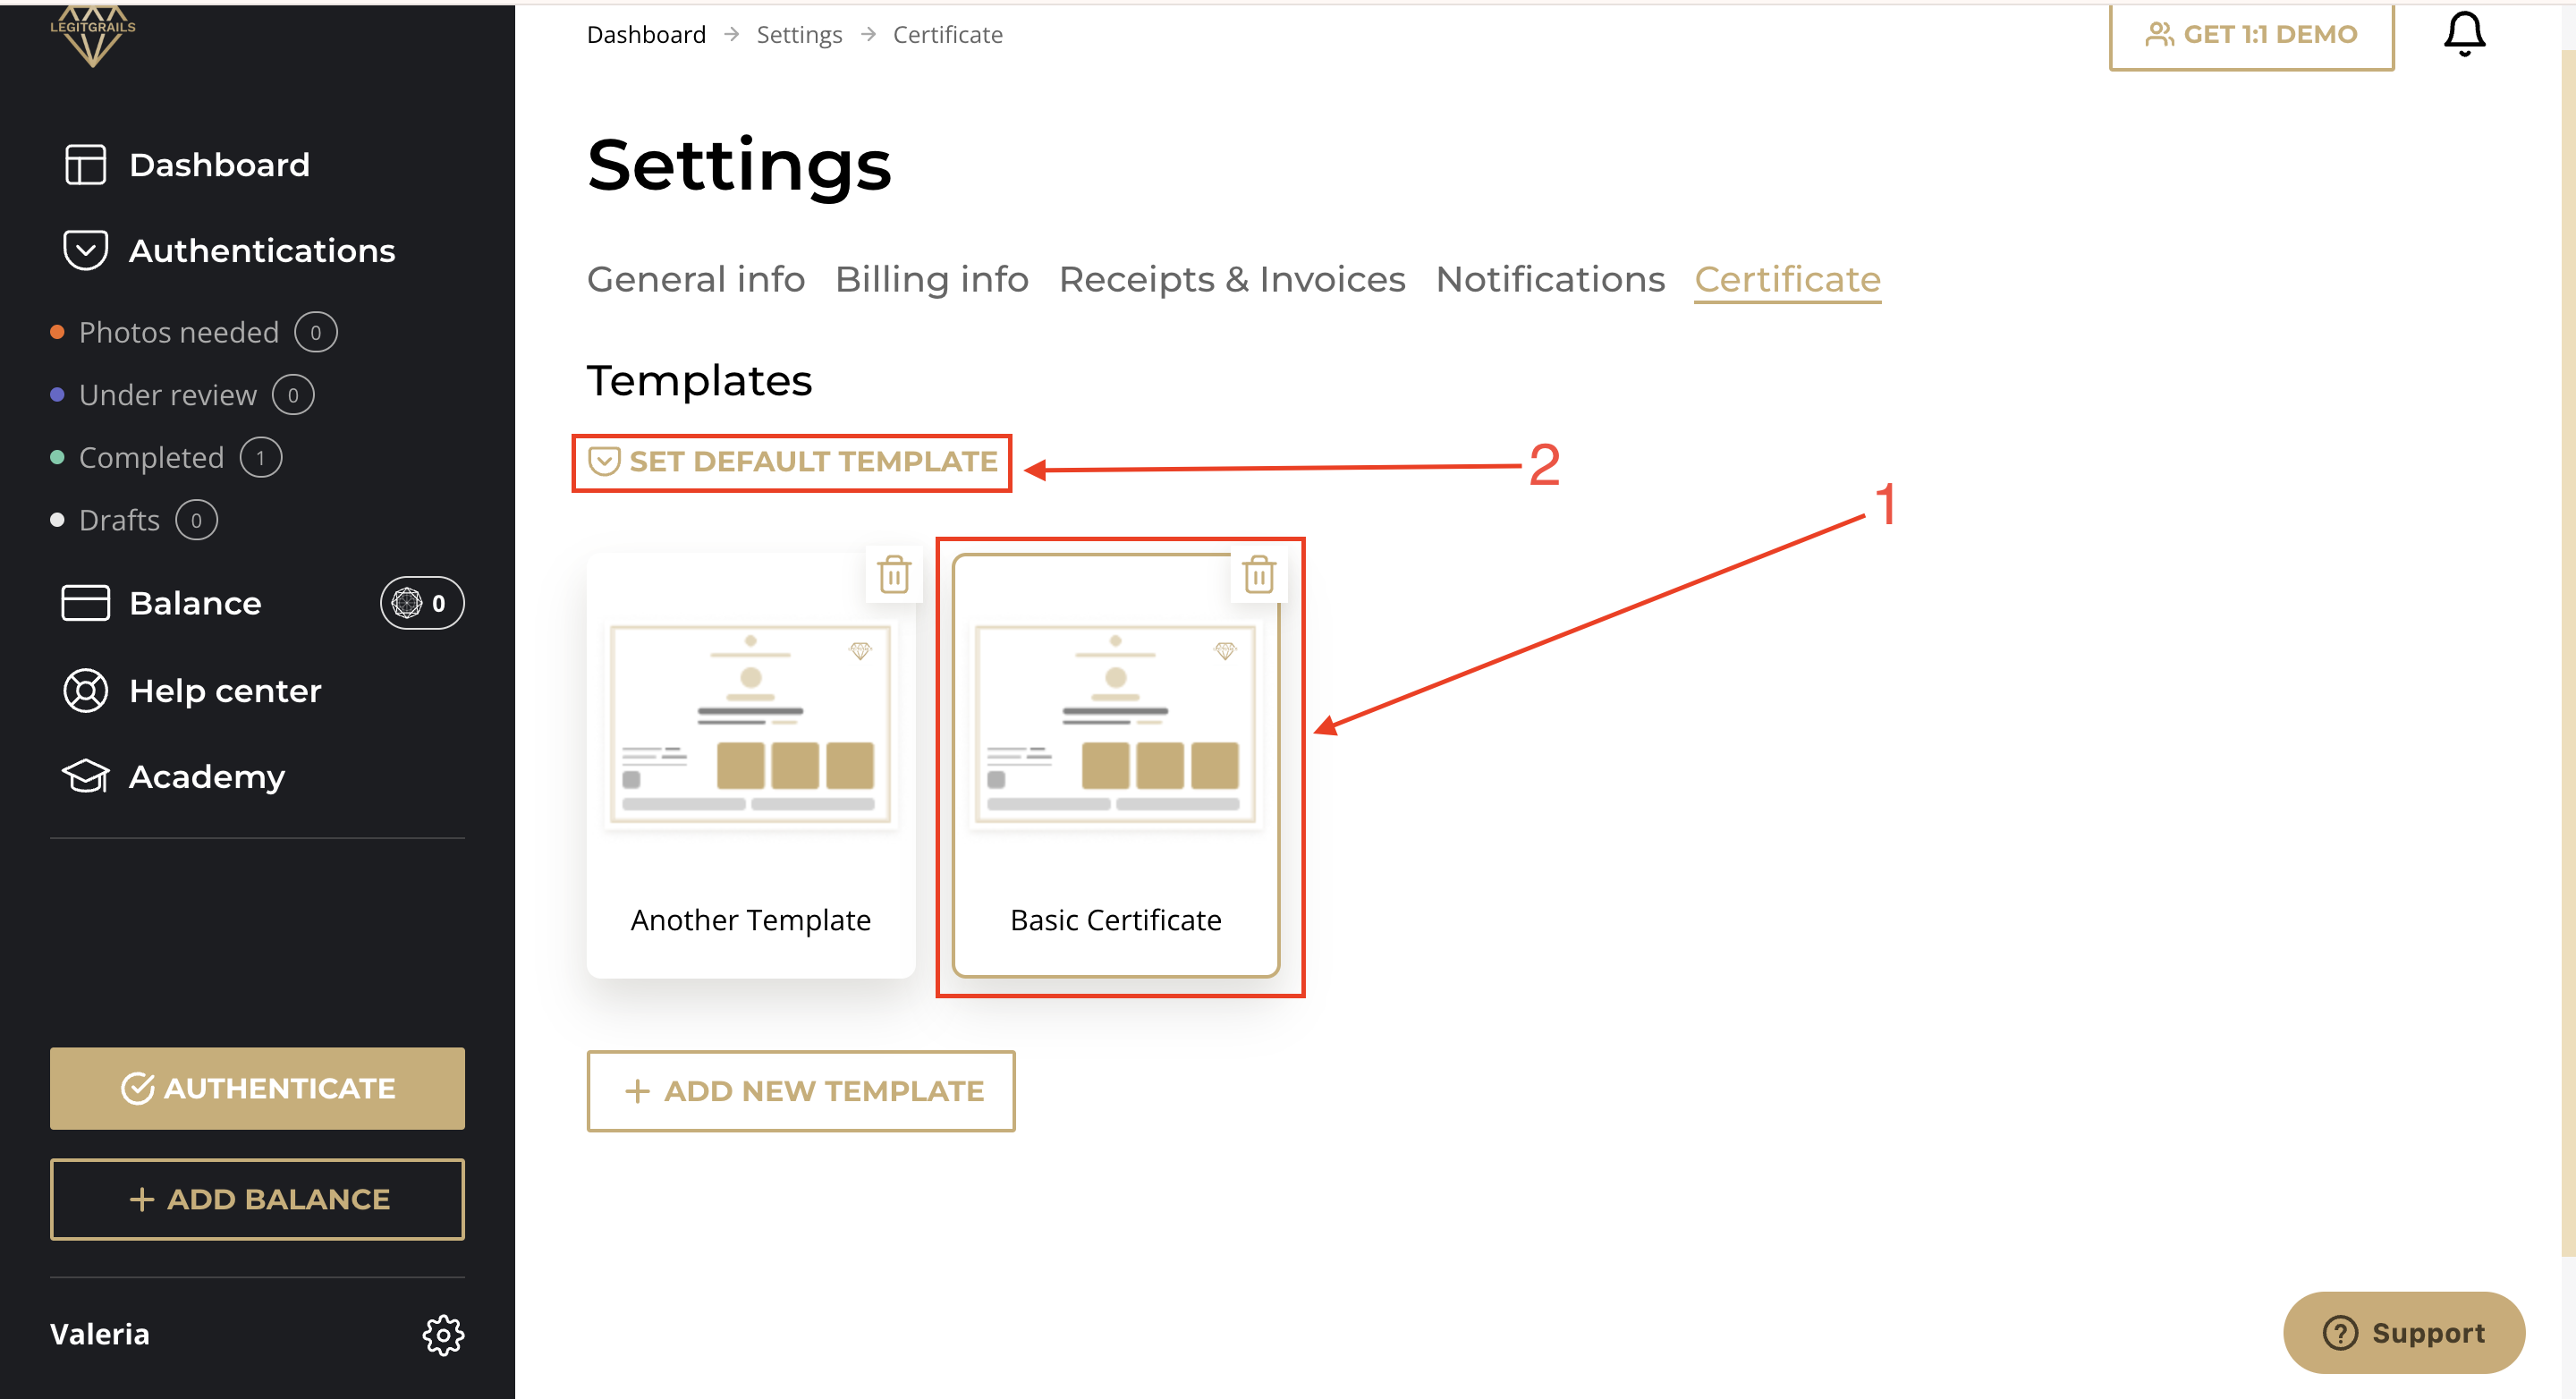
If you have more than one certificate template, you can choose the default one, which will be applied to your future certificates automatically.
By following these steps, you can easily manage and customize your account settings to fit your needs. If you have any questions, feel free to reach out to our support team.

